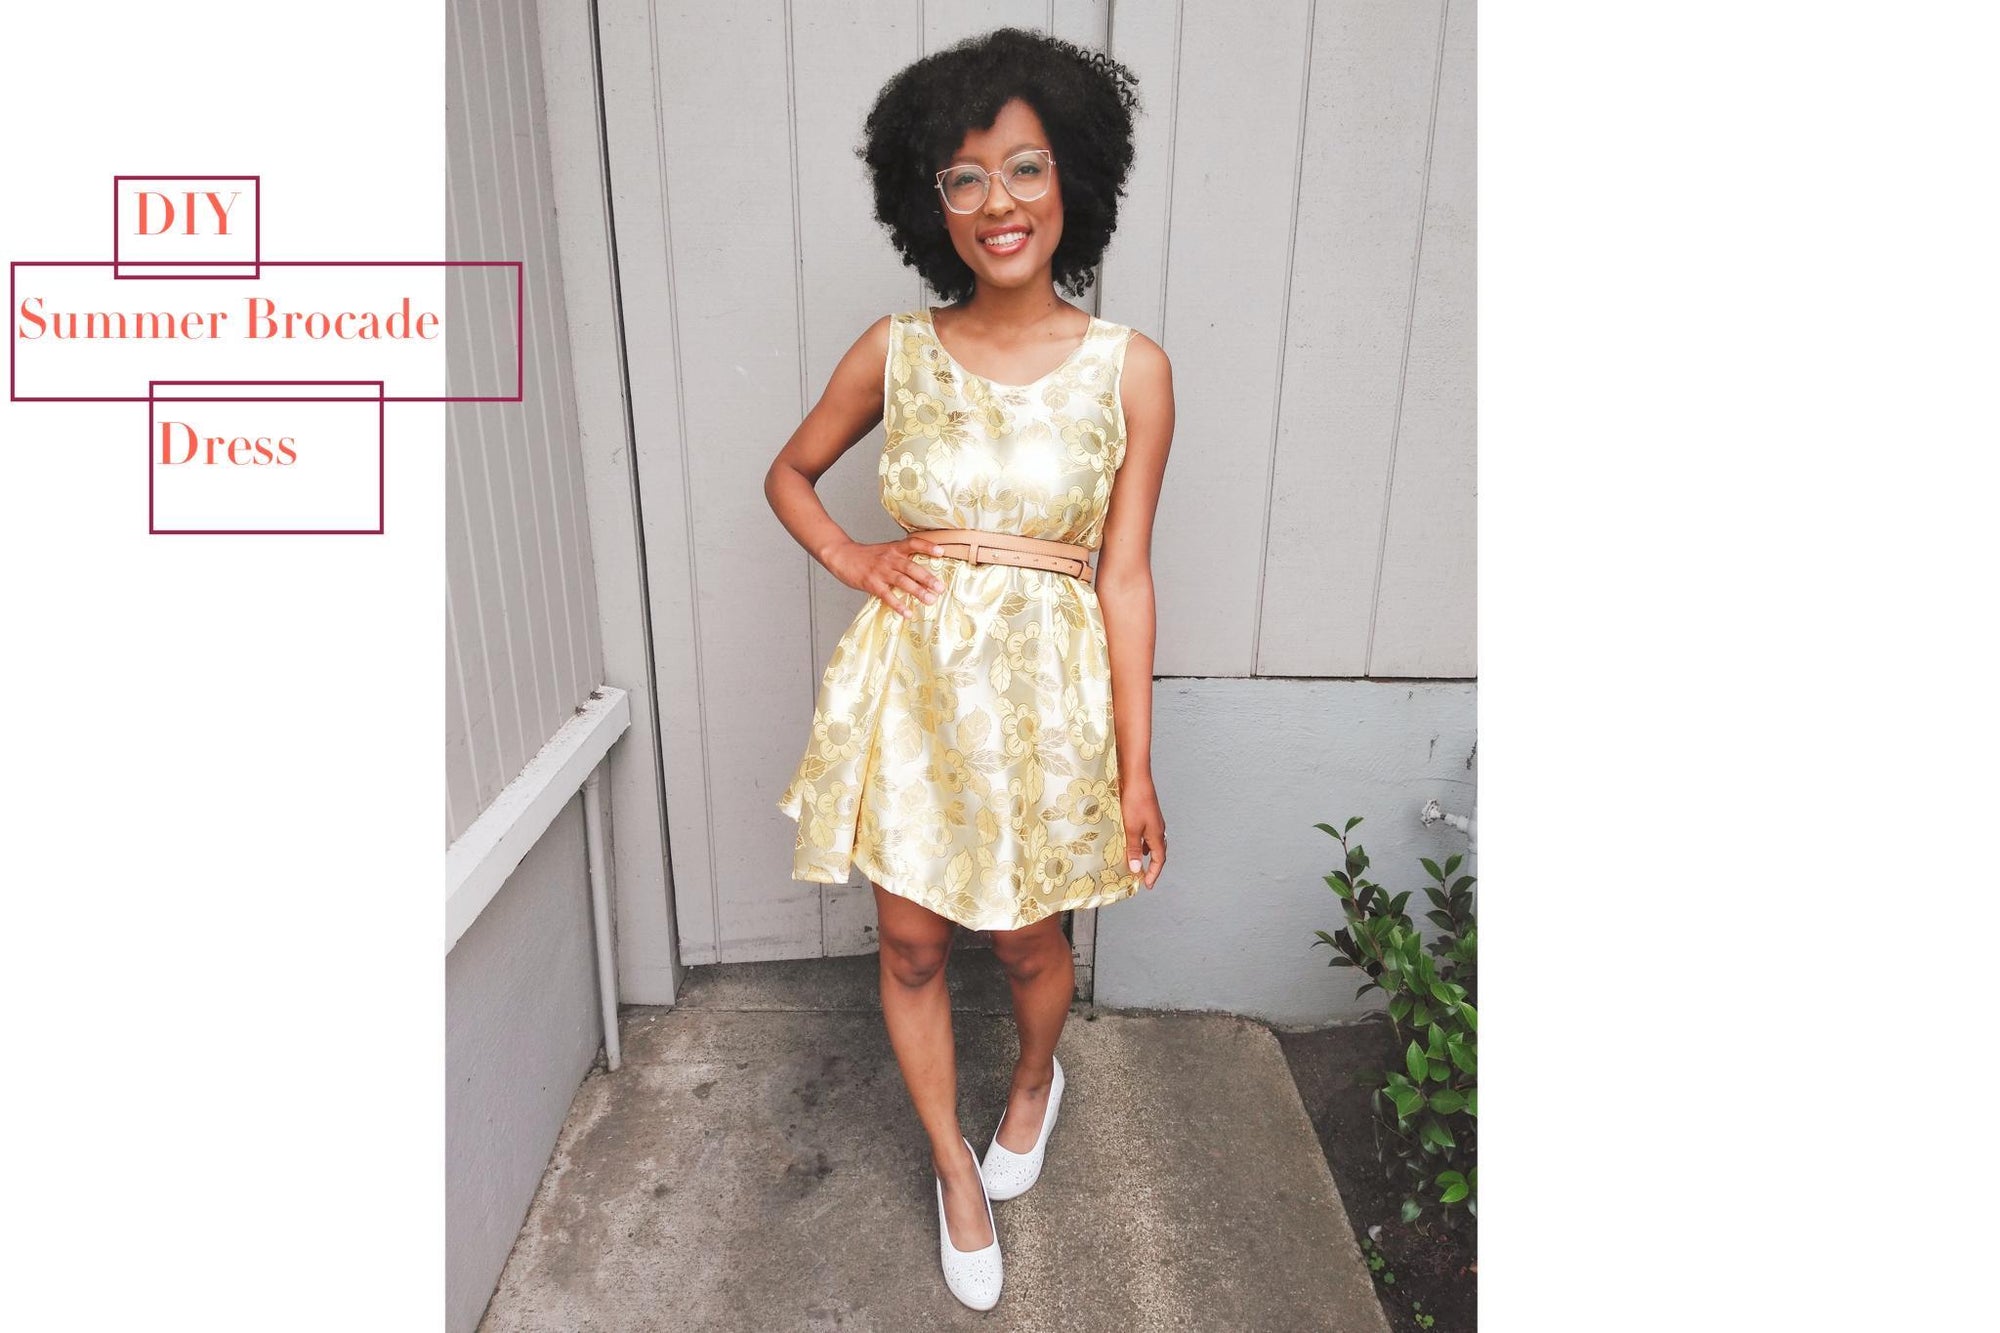
If you’re looking for the perfect outfit you can wear for a back to school or even a night out with your friends, look no further! I’ll be teaching you how to make a flowy skirt topped with a ruffled top. You’re going to make everyone who look your way take a second glances!
Supplies:
- Computer and Printer
- Sewing Machine
- Thread
- 8” zipper
- Skirt Pattern
- Shirt Pattern
- 3 yards of African Print 90186-5
- 2 yards of Stretch Velvet
Time:
5 Hours
Difficulty:
Easy
LET'S GET STARTED!
Part 1: The Skirt
- The first thing we’re going to tackle is the skirt! If you already bought the patterns through etsy, it’s time for you to download the pdf and print out the pattern! Once printed you’re going to line up the papers by their numbers, from left to right, like numbered above in the photo. Once lined up, you’re going to tape everything together.

-
You’re going to cut out the pattern and place it on the skirt fabric you chosen! You’re going to line up the edge of the skirt pattern on the fold. You’re going to do the same for the waist band.
-
After cutting the skirt piece on the fold you’re going to use it to cut two more, separate pieces, using the rest of the fabric. This will be used for the back of your skirt.
-
Next, you're going to pin the two skirt side pieces to the front end of the skirt on the ‘wrong side’ of the fabric. The back two pieces will NOT be pinned in this step. Leave the back end of the dress open while you sew the back of the skirt to the front.
-
Because of the pattern of my skirt, it’s hard to fully see, however, you’re going to fold the waistband in half and pin it to the skirt. The waistband should be pointing towards the inside of the skirt like shown above.
-
Wanted to show and extra visual so this part will be easily understood. On the ‘right’ side of the fabric, it should look like this after you sew the waistband to the skirt.
-
Next up, hemming the bottom of the skirt. This should be self explanatory! You’re going to take less than an inch off the bottom of the skirt and pin it all around the bottom. Once you’re finished pinning, you’re going to use your sewing machine to put it in place.
-
Now onto one of the last steps for the skirt, the zipper! I used an 8” zipper for my skirt but you can definitely use a longer one if it’s too tight of a squeeze. You’re going to take the back end of the skirt and pin the zipper to the skirt, like shown above. When you’re done sewing the zipper on, it should look like the picture below.
-
The final step is to pin the entire skirt together! I used a white pen to highlight how and which direction you’re going to be pinning and then sewing from the zipper!

-
The final Photo of a finished skirt!

Part 2: The Shirt
- Now for the shirt! It’s going to be similar to the skirt, after printing out the pdf pattern and cutting out each piece, you’re going to tape them together. It should look something like the photo above after everything has been cut and taped.
-
In this photo, I actually made a huge mistake! For the sleeve piece, you’re going to cut on the fold! You’re going to need to cut the sleeve on the fold twice. Cut two pieces of the front of the garment, and cut the back piece on the fold.

-
After cutting the fabric, grab the front end of the garment and pin the middle. Make sure you pin it on the “bad side” of the fabric.
-
After sewing the middle together, it’s time to pin and sew the front of the garment to the back. It’s shown in the photo above, but you’re going to sew the “strap” part of the garments together, then pin and sew the sides.
- When the garment is sewn together, we’re going to hem the bottom of the sleeve. Mine looks a bit shorter than yours because I accidentally cut two pieces instead of just one on the fold!
-
After hemming the sleeve, we’re going to pin it to the finished garment!
-
Do the same for the other sleeve. It should look something like this.
- Now for the final steps, it’s time to hem the top of the shirt and the bottom

-
Once you’re finished hemming all around turn the garment to the right side and voila. All finished and ready to go on an adventure!
YOU ARE ALL DONE!


 Transparent
 White
White
 Pink
Pink
 Red
Red
 Orange
 Ivory
Ivory
 Yellow
 Gold
Gold
 Brown
Brown
 Green
Green
 Blue
Blue
 Purple
 Grey
Grey
 Black
Black
 Multi
Multi
 Abstract
 African Print
 Animal Print
 Baby & Nursery
 Buffalo Check
 Camo Print
 Celestial
 Chevron
 Church
 Damask
 Embroidered
 Floral
 Geometric
 Gingham Check
 Houndstooth
 Licensed
 Paisley
 Plaid
Plaid
 Polka Dot
 Sports
 Stripe
 Tie Dye


