 White
White
 Pink
Pink
 Red
Red
 Orange
 Ivory
Ivory
 Yellow
 Gold
Gold
 Brown
Brown
 Green
Green
 Blue
Blue
 Purple
 Grey
Grey
 Black
Black
 Multi
Multi
 Abstract
 African Print
 Animal Print
 Baby & Nursery
 Buffalo Check
 Camo Print
 Celestial
 Church
 Damask
 Embroidered
 Floral
 Geometric
 Gingham Check
 Houndstooth
 Licensed
 Paisley
 Plaid
Plaid
 Polka Dot
 Sports
 Stripe
 Tie Dye
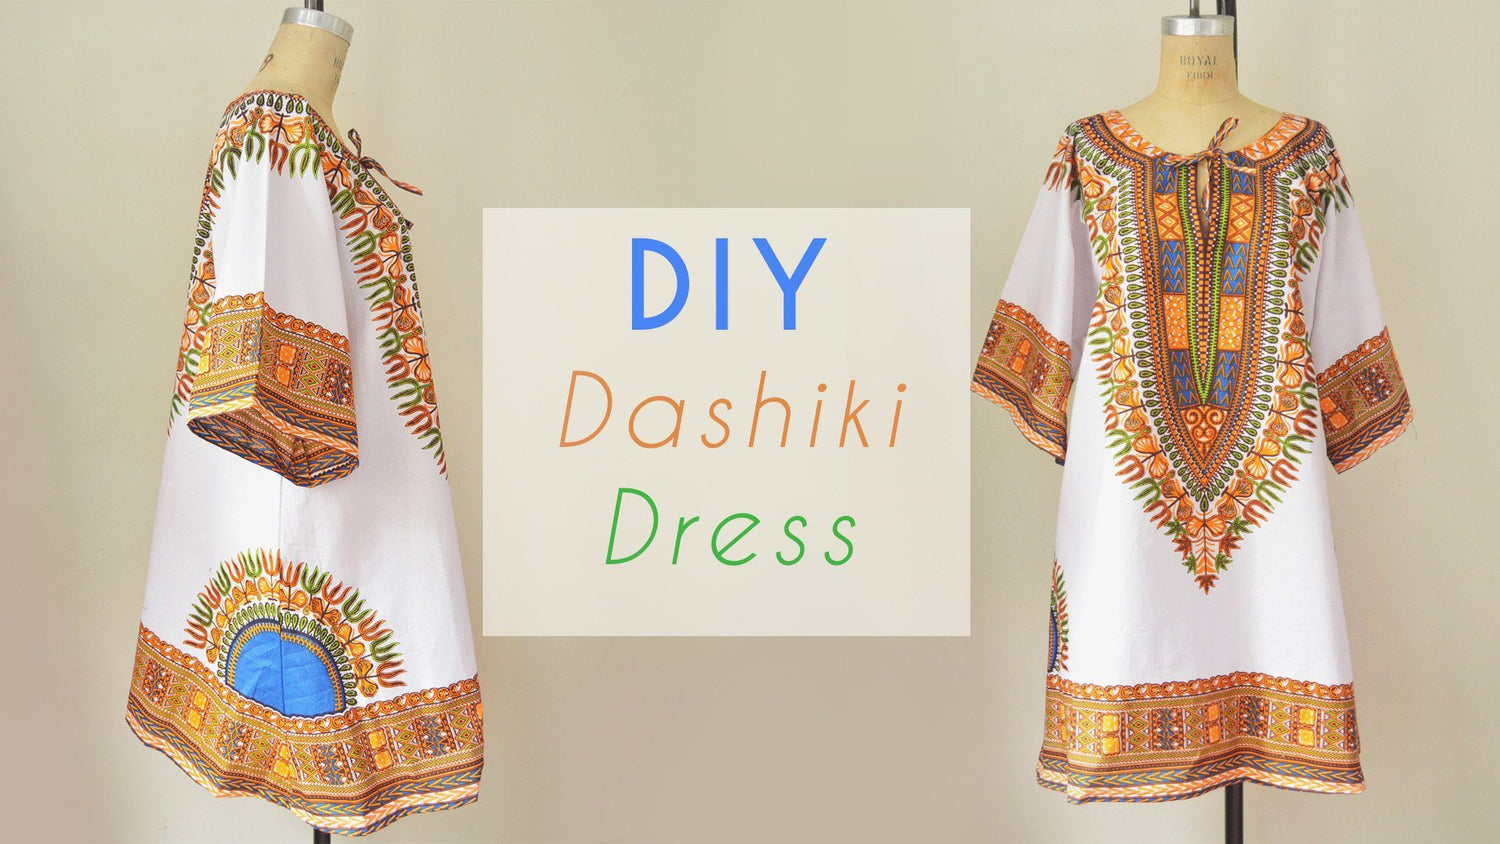
A DIY Dashiki Dress Sewing Tutorial
Dashiki prints have been a part of African culture for hundreds of years, originated from west African. The Dashiki prints are used to make number of garments for daily and special occasions. In recent years, Dashiki garments have tremendously grown in popularity. Many celebrities can be seen sporting these stylish dashiki shirts/dresses. What's the attraction you might wonder?! Well, each print is highly detailed and printed on a breathable cotton ground with beautifully vibrant colors. You can wear this with almost anything! Lively summer dresses, or a cultural top paired with your favorite summer jeans, the possibilities are endless. This tutorial is extremely simply thanks to our unique dashiki fabric panels that are printed with precision to allow you to customize the length of your dashiki with minimal effort. Check out the tutorial below and if you need help, there is an easy to follow DIY video tutorial below.
Supplies:
- 1 panel of our Dashiki Fabric
- Scissors
- Thread
- Pen/Chalk
Difficulty: Easy
LET'S GET STARED!
First, take one panel of a dashiki print fabric, and fold it in half. Then fold it in half again. Cut out your desired neckline shape. You can use the pattern on the fabric as a guide to help you. I decided to have a slit in my neckline so I cut a straight opening on the front side of the shirt.

A dashiki is quite loose so add a couple inches extra when marking your bust measurement. Decide how loose you want the sleeves to be and cut a curve like this. You can always make it tighter so leave a generous amount of space if you are unsure.
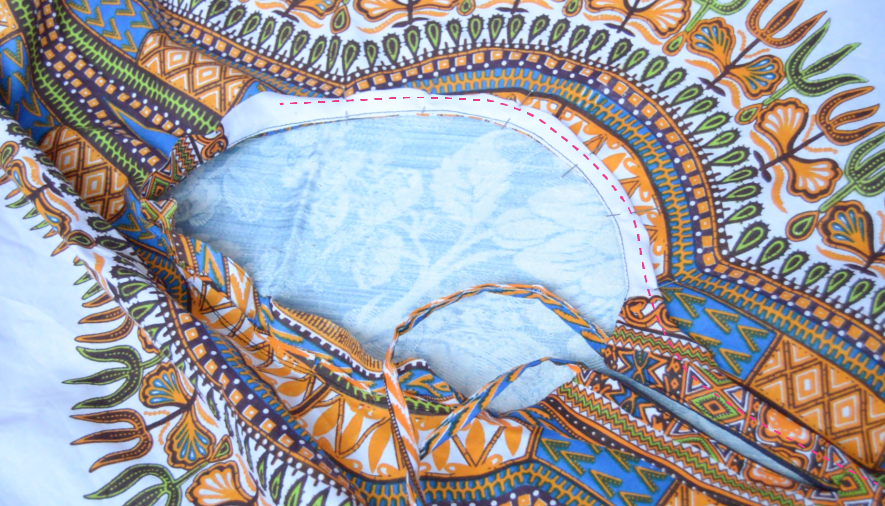
Now its time for the neck facing. Take a scrap piece of fabric and pin it over the neck opening. Turn the dress the other side and mark the neckline on the scrap piece of fabric. Then unpin and make a one inch facing.


Now pin the facing on the right side of the fabric. Then turn the dress to the other side and sew it in place. Make a edge stitch to keep the facing down.I wanted a tie on the neckline so I made a strap with some of the scraps and pinned it between the dress and facing before sewing on the two together.


Then fold the facing 1/2” in and top stitch all around the neckline.
Now just sew the side seams. Remember if its too loose you can take it in.

Lastly, hem everything and your done. Below is a DIY video tutorial that you can use to easily follow along...
Here's how it looks when you are finished!

6 comments
Kathleen Barnard
Oh dear! Please insert some paragraphs into my comments!
Oh dear! Please insert some paragraphs into my comments!
Kathleen Barnard
When did you start using these sewing guides? They look quite good and very useful! I made two dashiki shirts and wish I had them before I did the sewing. I did not do the neckline the way your designer did. Inasmuch as it is a summer blouse I simply placed a piece of white fabric over the neckline area (including the V shapedd areas) on the right side of the material. (My piece of red had a very definate difference in red between the wrong and right side.) Then, stitching on the wrong (or inside) I simply followed the printed edge of the fabric as my daughter needed the amount of the yellow edge. Then I simply graded and snipped the seam and turned the white inside. To finish I rolled the seam line to the inside and edge stitched the fabric. To anchor the facng (after pressing) I chose one ofthe black lines and stitched the faoing in place. Not having known about ties I am simply going to anchor some in place with hand stitching to the hh the facing. I left an opening at the bottem edge of four inches to make sure the blouse would drape over the hips. Also made patch pockets with angled opening to accomodate cell pjhones , etc. I also turned the bottem piece of the pattern—was about ½ to ¾ inches wide up and stitcjhed to provide a bit of extra weight, I hink the better thing to do is to sew a strip of material on the line and make the same sort of facing as on the neck.
When did you start using these sewing guides? They look quite good and very useful! I made two dashiki shirts and wish I had them before I did the sewing. I did not do the neckline the way your designer did. Inasmuch as it is a summer blouse I simply placed a piece of white fabric over the neckline area (including the V shapedd areas) on the right side of the material. (My piece of red had a very definate difference in red between the wrong and right side.) Then, stitching on the wrong (or inside) I simply followed the printed edge of the fabric as my daughter needed the amount of the yellow edge. Then I simply graded and snipped the seam and turned the white inside. To finish I rolled the seam line to the inside and edge stitched the fabric. To anchor the facng (after pressing) I chose one ofthe black lines and stitched the faoing in place. Not having known about ties I am simply going to anchor some in place with hand stitching to the hh the facing. I left an opening at the bottem edge of four inches to make sure the blouse would drape over the hips. Also made patch pockets with angled opening to accomodate cell pjhones , etc. I also turned the bottem piece of the pattern—was about ½ to ¾ inches wide up and stitcjhed to provide a bit of extra weight, I hink the better thing to do is to sew a strip of material on the line and make the same sort of facing as on the neck.
MonicaAD
Lovely fabric to compliment your lovely dashiki :)
Lovely fabric to compliment your lovely dashiki :)
Lucy Verrier
Please show us videos on making lace shawl, cutting tecnical style
Please show us videos on making lace shawl, cutting tecnical style
Dennis
The dashiki dress looks beautiful, I’m glad there’s a DIY I can do. It’s better than looking for one from the overseas market. Can’t wait to try making it.
The dashiki dress looks beautiful, I’m glad there’s a DIY I can do. It’s better than looking for one from the overseas market. Can’t wait to try making it.
Shunni'
Super cute
Super cute