 White
White
 Pink
Pink
 Red
Red
 Orange
 Ivory
Ivory
 Yellow
 Gold
Gold
 Brown
Brown
 Green
Green
 Blue
Blue
 Purple
 Grey
Grey
 Black
Black
 Multi
Multi
 Abstract
 African Print
 Animal Print
 Baby & Nursery
 Buffalo Check
 Camo Print
 Celestial
 Church
 Damask
 Embroidered
 Floral
 Geometric
 Gingham Check
 Houndstooth
 Licensed
 Paisley
 Plaid
Plaid
 Polka Dot
 Sports
 Stripe
 Tie Dye

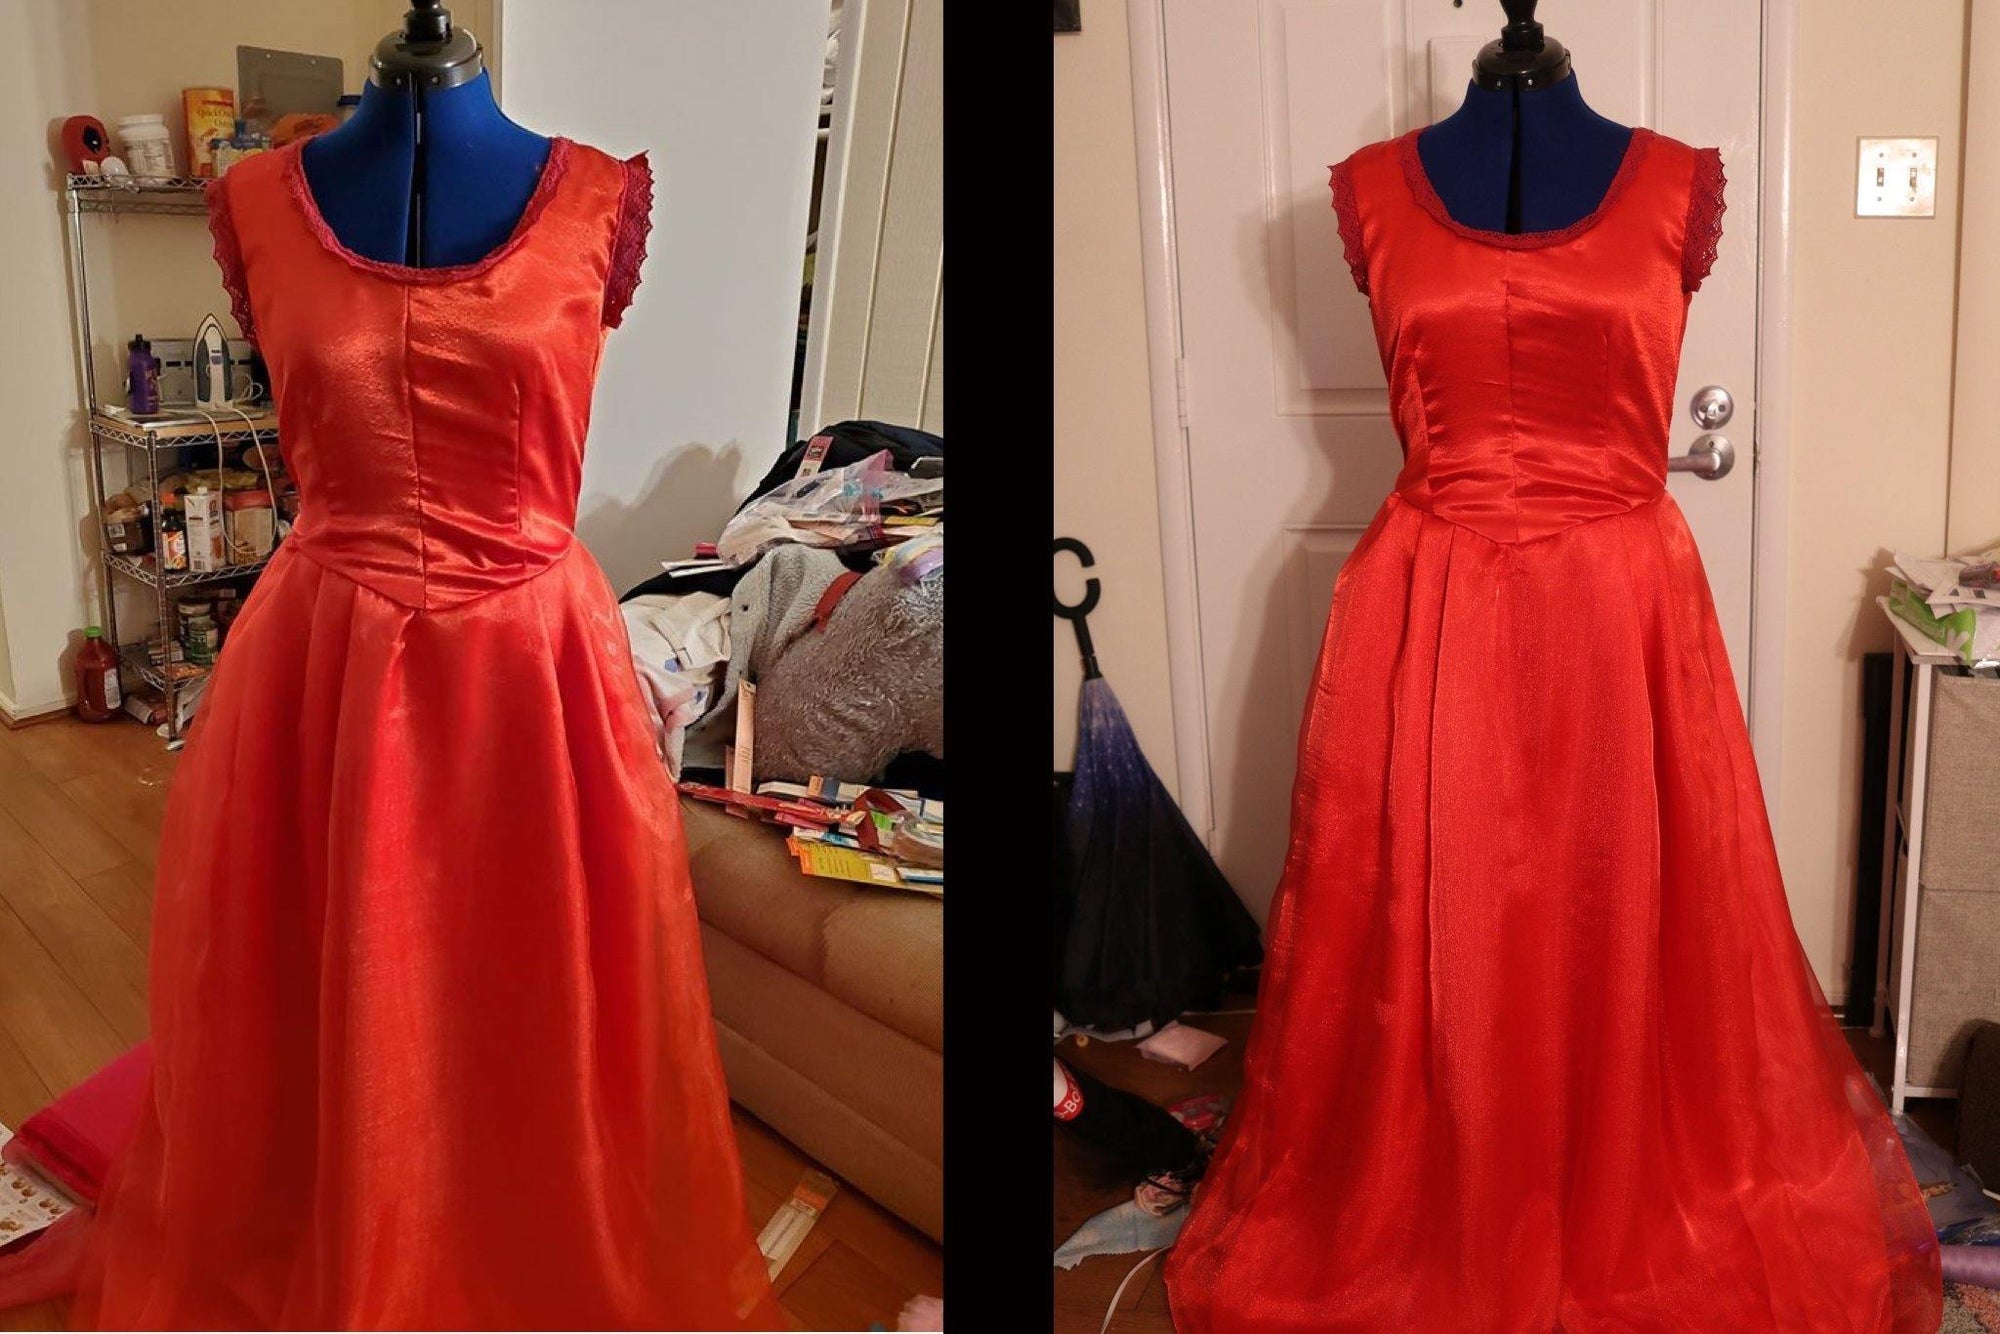
A DIY Brushed Poly Wool Winter Coat Sewing Tutorial
Fall season is almost over and winter is just around the corner! Get super cozy with this Brushed Wool Poly Coat!
I never thought I would be able to make a coat, but with the help of the Taylor Trench pattern and this fabric, it’s completely possible. You’ll feel stylish and stay warm with the sleek lines and structure of fabric. I’ll definitely make other versions of this coat in the large selection of colors offered, maybe with a hood or belt next time. What will your coat feature? Can’t wait to see it!
Supplies:
- 3-5 yards Brushed Poly Wool (I used Gold)
- 2-2.5 yards Poly China Silk (I used Burgundy)
- Rebecca Page Taylor Trench Coat Pattern
- Thread to Match
- Measuring Tape
- Fabric Scissors
- Pins
- Sewing Machine
- Interfacing (weight will depend on style) (I used Hair Canvas Interlining)
- Buttons (decide size/quantity based on style)
Optional Supplies:
- Serger
- Maxi Lock Thread
- Coverstitch
- ¼ yard muslin or non-fusible interfacing
Time:
8-12 hours
Difficulty: Intermediate
I used the Taylor Trench Coat by Rebecca Page for all of this project. You can easily choose different options or go along with my modifications!
List of modifications I made:
- Extended front flap
- Added interfacing
- Deeper back darts
- Added muslin to sleeves
- Faux sleeve vents
- Bag hem lining
- Side in-seam pockets
- Mandarin collar
- Slightly slimmed sleeves
For most of this pattern, I suggest following along with the pattern. I’ll go through each step with photos and tips on how this wool handles the pattern and give my modification steps. I went with a size small based on finished garment measurements. I could have gone up a half size because of the thickness added with the interfacing. If you aren’t using interfacing, and want a more fitted coat, I suggest going based on final measurements.
If you are a more advanced sewer, there is a great Quick Glance Guide in the pattern, check it out, but don’t forget my tips for a more professional finish!
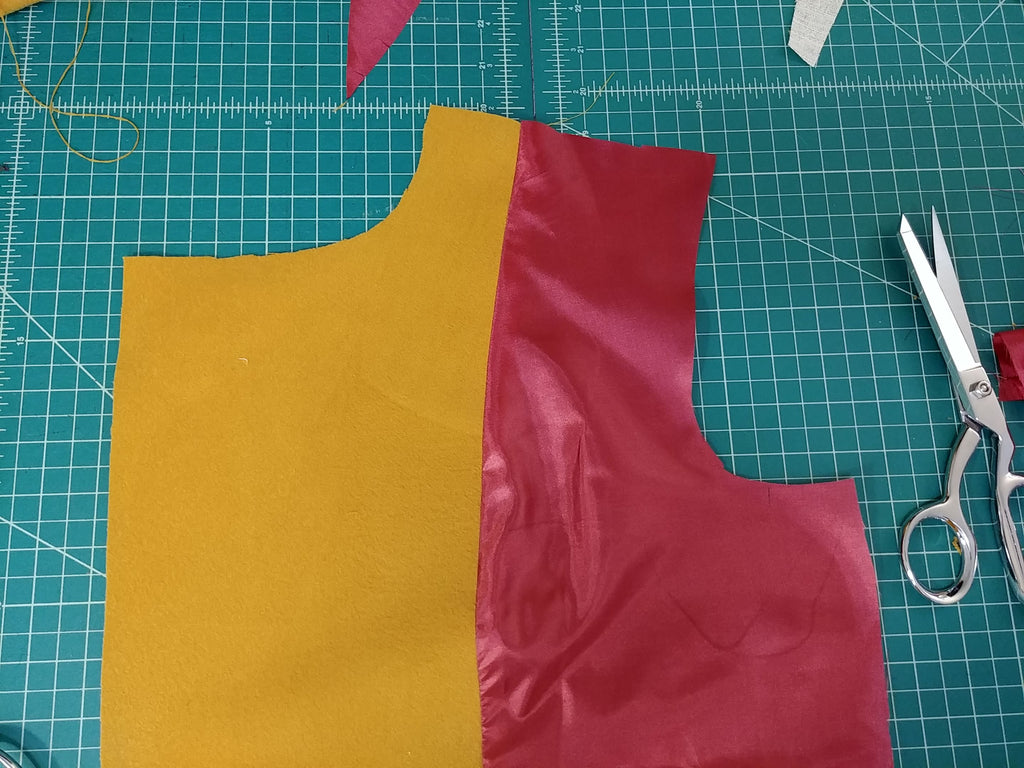
While cutting my left front piece, I simply extended the top line by 6”, and drew a slightly curved line to the waistline. I also did this for my left front facing.
LET'S GET STARED!
- Sew together your front/front side, and back/back sides. Clip all eased seams (near bust). Make sure you press all seams! I pressed on wrong side of the fabric; it makes a huge difference with this fabric. Cut interfacing pieces for front, front side, back side, and only the top half of the back. Cut ¼” off each edge, and 1” off hems to reduce bulk on your seams. Press all seams flat.

- Sew shoulders and side seams together. Press seams.
- We’ll add in side pockets now. I had you sew the side seam all the way down. Try your coat on and mark the top where you comfortably place your hand. Mark on the wrong side where your hand starts and stops.

- I used the welt pocket bag for this portion. Place one pocket at top of pin, sew in place on one side of your opened seam. Do the same for your other pocket side.


- Understitch your pocket now. Press your pocket away from your coat, then sew on only half of pressed open seam. This will help keep your pockets hidden!

- Pin your two pocket pieces together and sew ½” seam. You don’t need to finish this off because it will be on the inside of your coat. However, your lining will likely fray with handling, so if you feel safer, you can serge or zig-zag stitch along the edge.

- Sew your sleeve tabs together. I didn’t interface this, but you can choose to for a slightly crisper tab. Clip corners.

- Turn inside out, press, then top stitch.

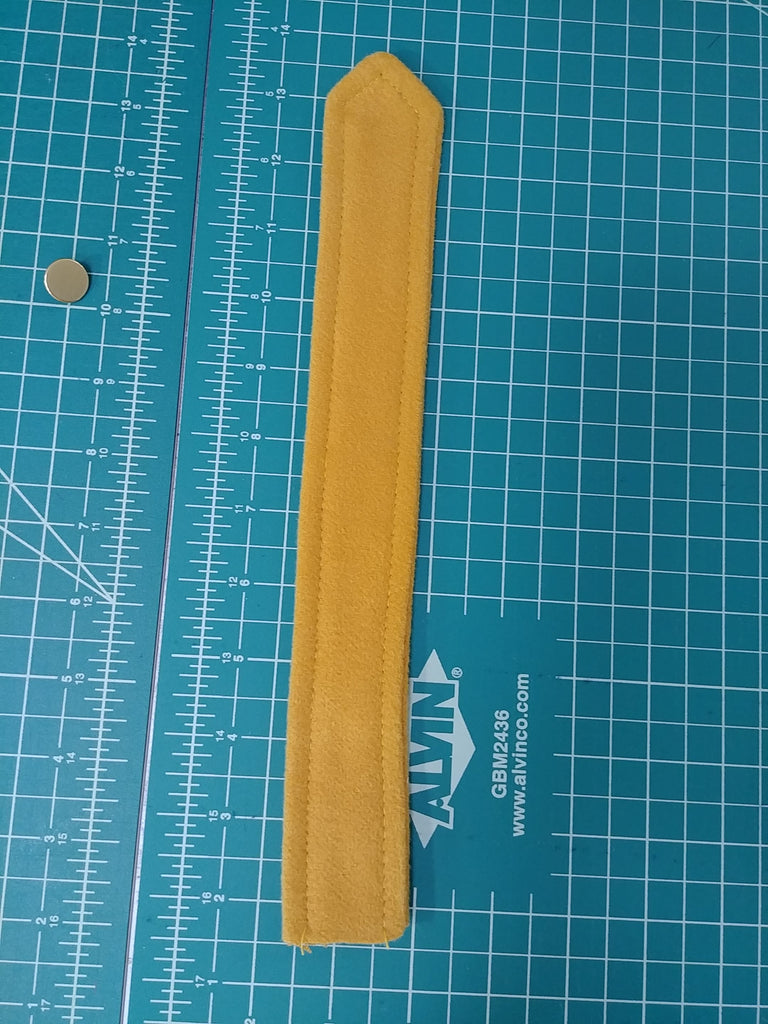
- Add a button hole, based on the button size you choose.
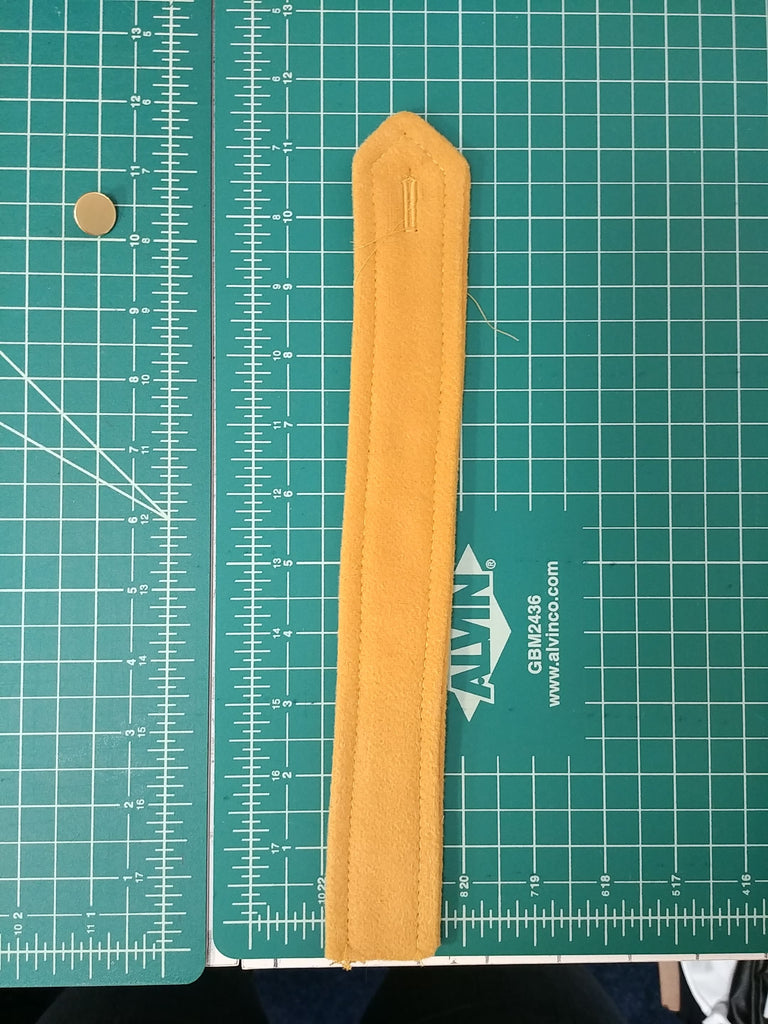
Repeat step 7-9 for second tab.
- Switch to your sleeves, you will have two clip markings on the side of your larger sleeve piece. Pin and baste your tab here on both sleeves.


- Sew over and under sleeve together. I slimmed my sleeves just a tad, but not at the armscye or wrist.
-
Create a memory hem by pressing your sleeve hem up 1 ½”. Make sure this is pressed well! Add a 2” strip of interfacing here, about 1/8” above your memory hem. This will help give a very crisp hem edge.

-
Sew your under and over sleeve together on sides. Make sure your tab is sandwiched between the two.

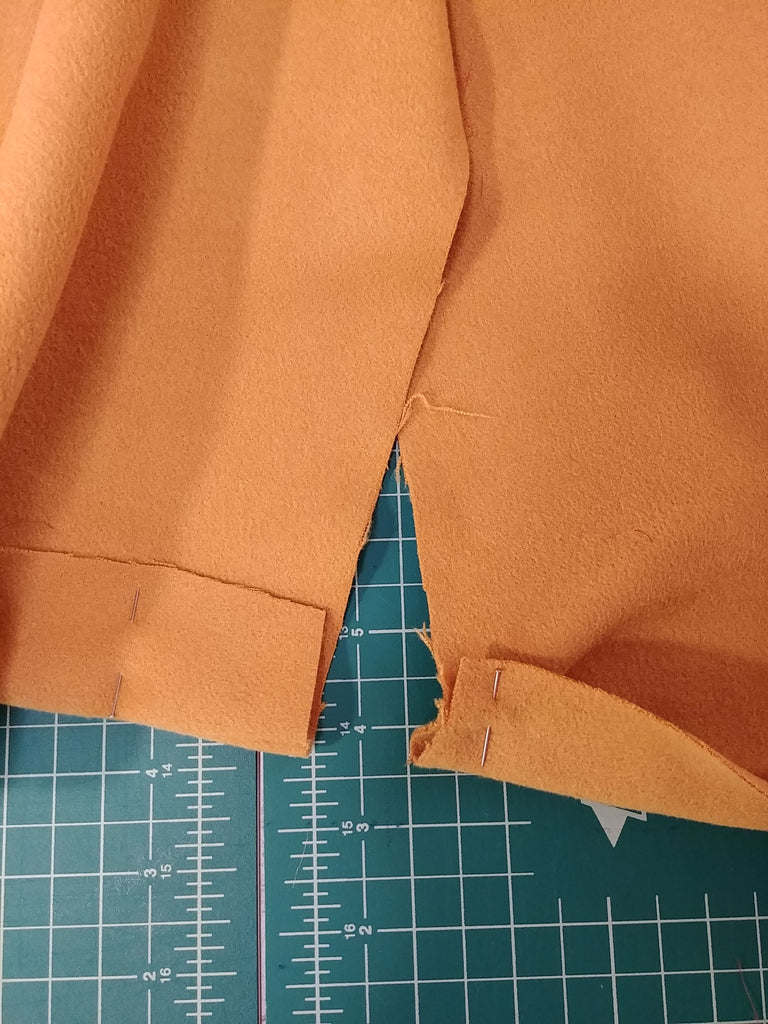
- Here we’ll work on the sleeve vent. I didn’t want to have a functional vent, as the wrist opening was big enough for me. Fold over your over sleeve vent on top of under vent, then fold over sleeve vent back over itself. Press!

Here is another professional looking tip! Adding a muslin or non-fusible interfacing will give a more structured sleeve cap. You can of course add padding in, but you may not have a lot of room as the pattern wasn’t designed for that. To create your pattern piece, you’ll merge the over and under sleeve pieces together.
- Cut your muslin from your pattern, then sew side seams.

- Baste stitch your muslin into your sleeve on both sides.

- Line up your sleeve center marking and shoulder seam on coat at top and bottom. Your bottom clip won’t be at the seam! Because this pattern calls for a under and over sleeve, you can’t fold your sleeve in half to find the middle. Trust me on this! Make sure your look at the sleeve shape to get the correct sides. You should have a slight bend in the elbow to indicate left and right (there was also an indication on your pattern piece).

-
Stitch your sleeve, easing in your cap.
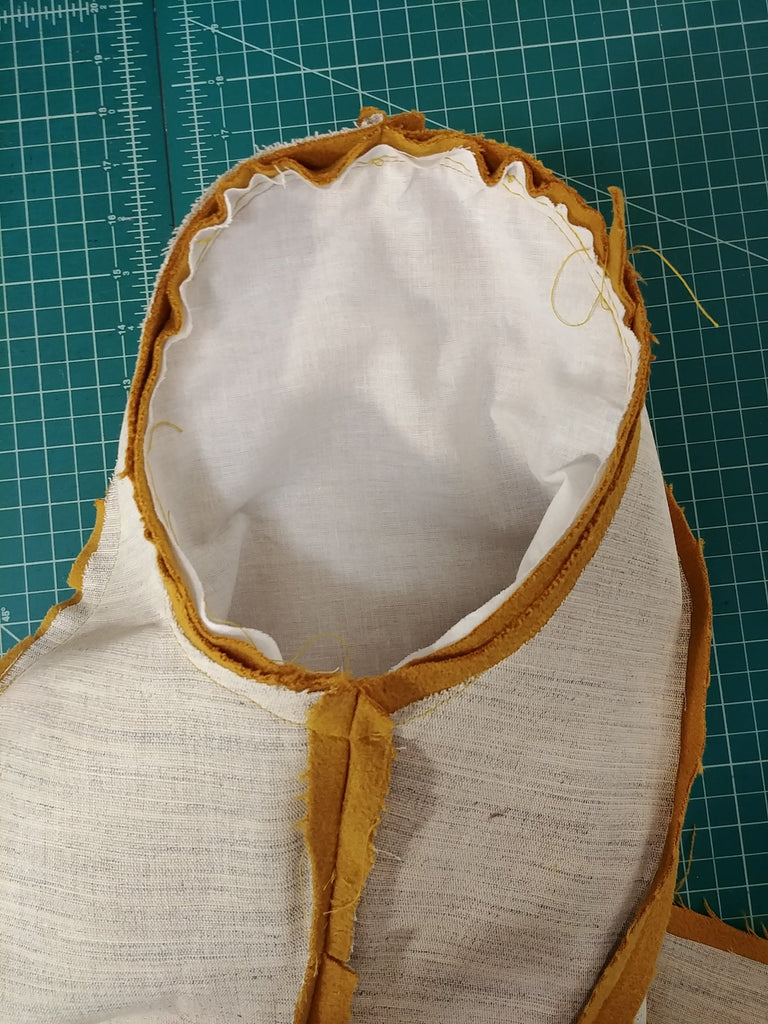
To make the mandarin collar, extend Under Collar by 3/8” on top and bottom, curve top edges. This collar will feel a little tall at first, but pin down ½” on top and bottom to get real sense of the height. Adjust according to your preference! - Interface one piece or your collar, sew top and sides. Clip corners, turn inside out. Press.

- Use pattern piece to add in collar detail.

- Line up your collar on your coat. I offset mine in line with my asymmetry. Sew into place.


- Sew back darts, then back pieces together.

- Sew front facing and side front lining together.
- Sew sides and shoulders together.

- Sew sleeves onto lining same as you did with the coat but sewing straight down if you are putting in faux vents.
- Create a ½” memory hem on your sleeves.
- Sew front facing to coat front. Clip corners. Turn right side out, push out corner, topstitch.


- Fold memory hem opposite way, pin in place, sew ½” on right vent, 2” on left vent. Turn vents right side out and press.

- Sew lining vent to coat vent. I did this a little differently from the pattern. I turned vents inside out, matching right sides together. One vent will be on inside of coat, fold that vent top on an angle.


- Turn around and lay your coat flat or on a dress form. You’ll need to make sure your vent lays flat. Pin in place, and sew angle following the vent angle from inside.

- Sew down your sleeve vents. With over sleeve vent on top, sew along folded edge (only catching under sleeve vent).


- Sew vent to sleeve only up to memory hem (where pin is in photo).


- I also did my sleeve a little differently. Line up your coat and lining sleeve, pin in place.
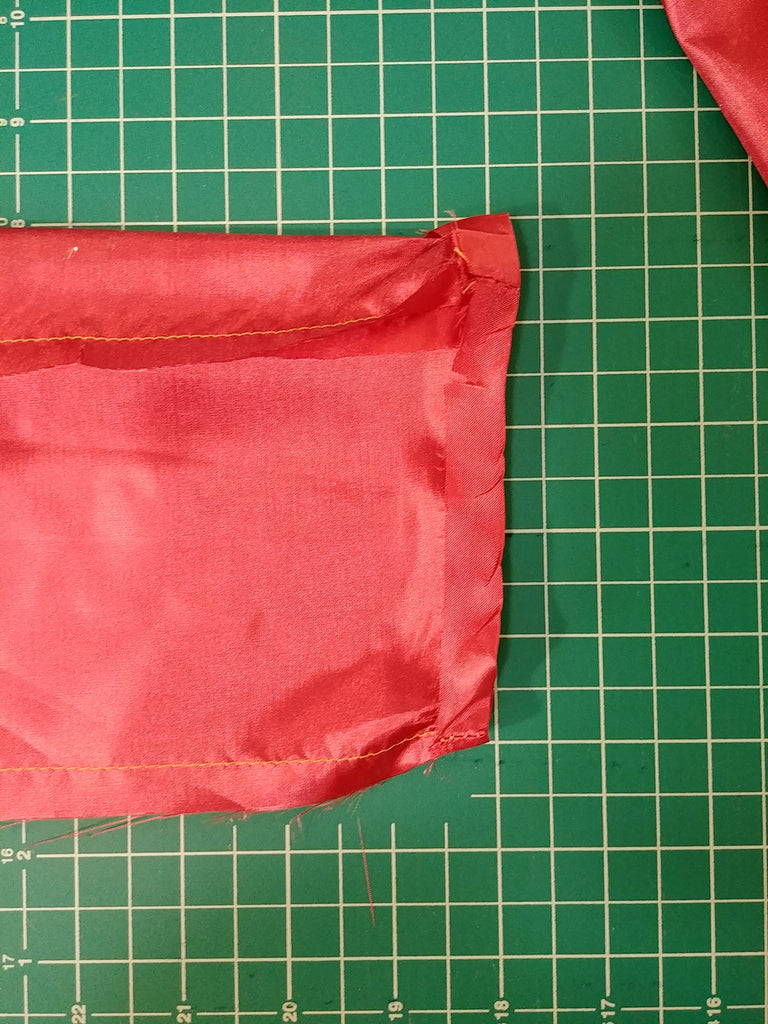
- Turn your sleeve inside out, sew right sides of hem together.


- Fold sleeve along memory hem in over sleeve, stitch seam you just created. This will prevent your sleeve hem from rolling down whenever you put your arm through.

- Add stitching to sleeve shoulder in lining and outer layer. Leave some wiggle room here as you shouldn’t restrict the lining movement too much.


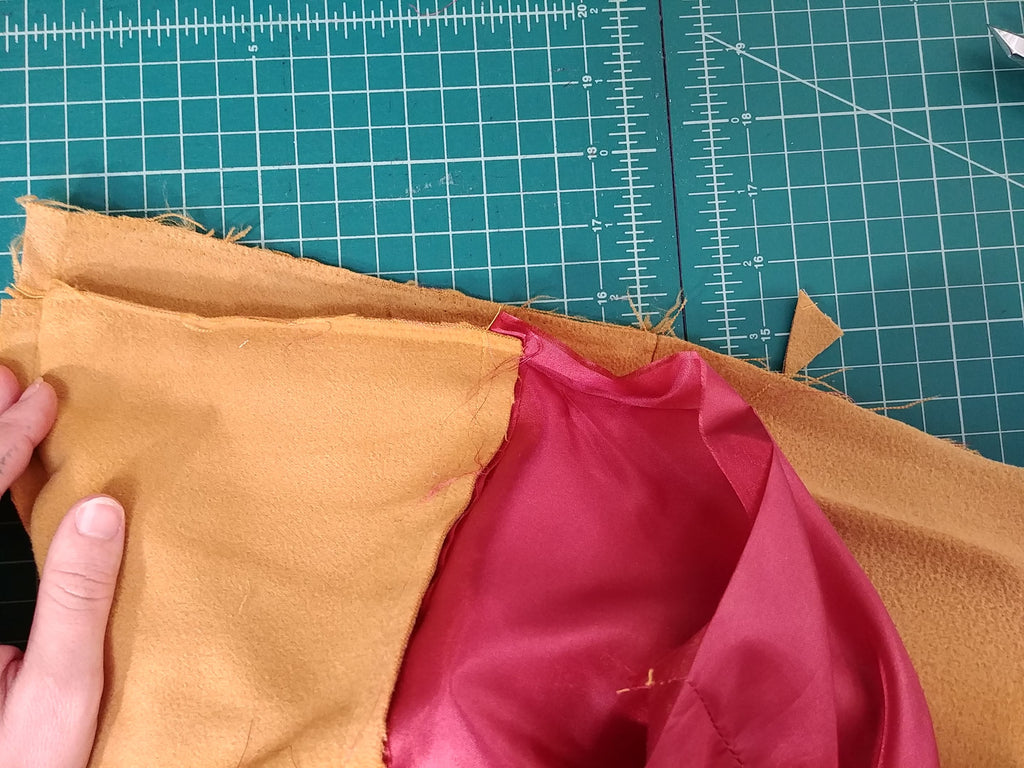
- Now you will do a slightly different version of a bagged hem. The coat is very thick, so I don’t suggest a full bagged lining. Sew right sides coat hem together, until you can’t sew any longer. For corners, start at lining hem, then slowly match lining and coat edge. Hand stitch remaining section.


- Add button hole to waist and upper corner of front. I didn’t add additional buttons, but you can add one or several off the waist to fit your coat a little snugger.


1 comment
Brenda W
That was a beautiful pictured step by step of your Gold wool coat with the Red lining. I love all the extra additions you added. Thanks for sharing this tutorial. Have a blessed day and stay safe!🥰🙏🏻
That was a beautiful pictured step by step of your Gold wool coat with the Red lining. I love all the extra additions you added. Thanks for sharing this tutorial. Have a blessed day and stay safe!🥰🙏🏻