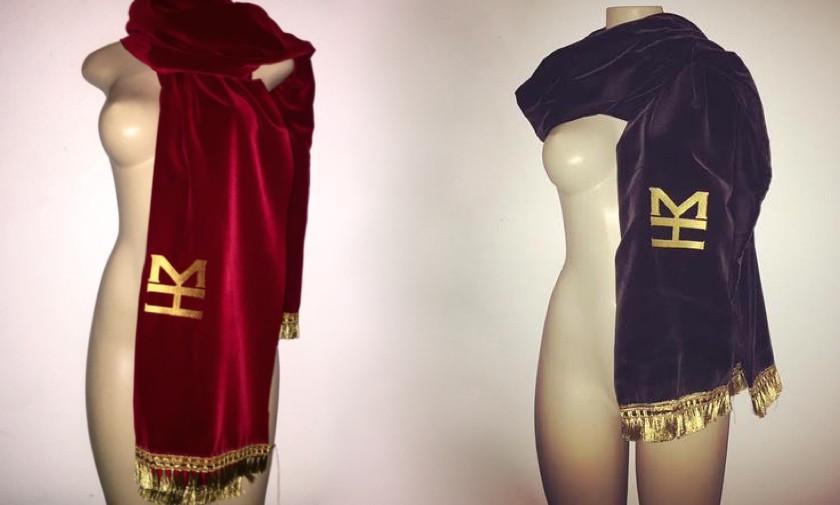
White
White
 Pink
Pink
 Red
Red
 Orange
 Ivory
Ivory
 Yellow
 Gold
Gold
 Brown
Brown
 Green
Green
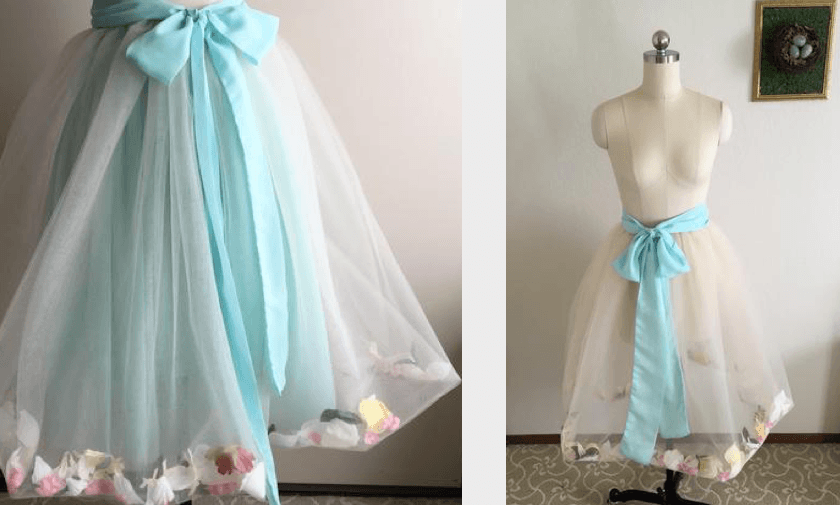
 Blue
Blue
 Purple
 Grey
Grey
 Black
Black
 Multi
Multi
 Abstract
 African Print
 Animal Print
 Baby & Nursery
 Buffalo Check
 Camo Print
 Celestial
 Church
 Damask
 Embroidered
 Floral
 Geometric
 Gingham Check
 Houndstooth
 Licensed
 Paisley
 Plaid
Plaid
 Polka Dot
 Sports
 Stripe
 Tie Dye
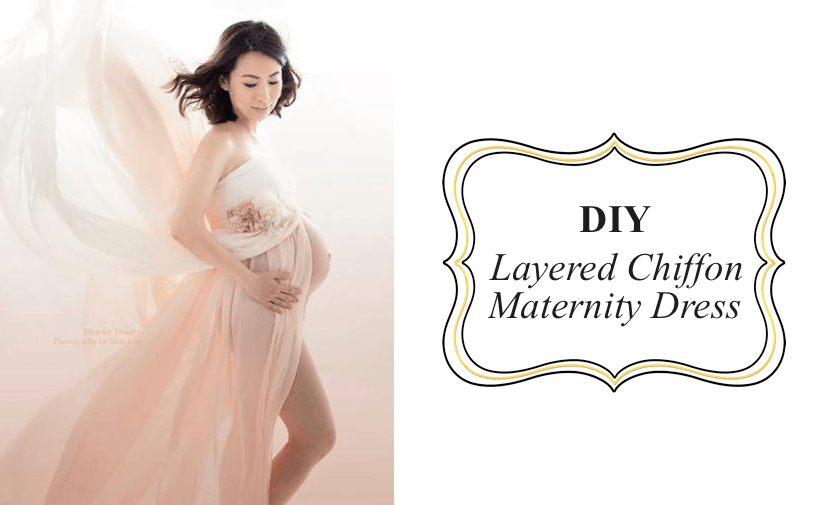
A DIY Layered Chiffon Maternity Dress Tutorial
I love to make this type of gown for my clients and their maternity photographs. There are so many options for color combinations but the soft pastels such as white or cream work best. Here I used a white ITY top with white and peach chiffon to make a long flowing gown. The top is a basic bandeau. I also like to use a pattern I drafted myself that is 10 inches wide in the front center then gradually narrows down to 4 inches in the back where the seam is.


Direction of stretch
For the skirt, it is two half circle skirts with the seam in the front center and back center. I like to make a long train for this dress so I find 7 yards of each fabric is perfect. Here is how to cut one layer:
Place the fabric down folded in half.
 Fold
FoldSince my fabric was 59” wide from the bottom left I measured 59” and taped my measuring tape on the floor to use it as a guide as I cut a 59” long curved edge. Here you can see where the measuring tape is pinned in and where the cut is on the fabric.

I then cut out the waist. Since it is for maternity wear, I need to cut the waist large enouge to easily fit a wide range of sizes. I find that a 14” radius works perfect. I used the same pinned measuring tape technique for the waist cut out as well. I then run a cut along the folded edge to open the front of the gown so the model can show off her maternity belly.

I stitch the back seam together with a 4 thread serger and run a 3 thread rolled hem along the dresses hem. I then start pinning the two layer chiffon skirt to the ity jersey knit top

I serger the top to the skirt pulling the ity knit top to stretch out and fit the chiffon bottom

Then you are done! And you have made a beautiful two layer chiffon maternity dress.

This project/post was made by designer, store owner and dear friend Rebecca Chaves. Check out her Etsy online store, J and L Designs Boutique.