White
White
 Pink
Pink
 Red
Red
 Orange
 Ivory
Ivory
 Yellow
 Gold
Gold
 Brown
Brown
 Green
Green
 Blue
Blue
 Purple
 Grey
Grey
 Black
Black
 Multi
Multi
 Abstract
 African Print
 Animal Print
 Baby & Nursery
 Buffalo Check
 Camo Print
 Celestial
 Church
 Damask
 Embroidered
 Floral
 Geometric
 Gingham Check
 Houndstooth
 Licensed
 Paisley
 Plaid
Plaid
 Polka Dot
 Sports
 Stripe
 Tie Dye

In this tutorial, I am going to show you how to become 1 of the most famous princesses in video game history Princess Peach Toadstool from the Nintendo franchise "Super Mario Bros"
Supplies:
- Simplicity 8476 sewing pattern
- 1 yard of blush pink poly china silk
- 3 yards fuchsia crepe back satin
- 5 yards of pink crepe back satin
- 1/2 of interfacing
- 24" pink invisible zipper
- Scissors
- Thread that matches your fabric
- 1/2 yard of elastic
- Sewing pins
- Measuring tape
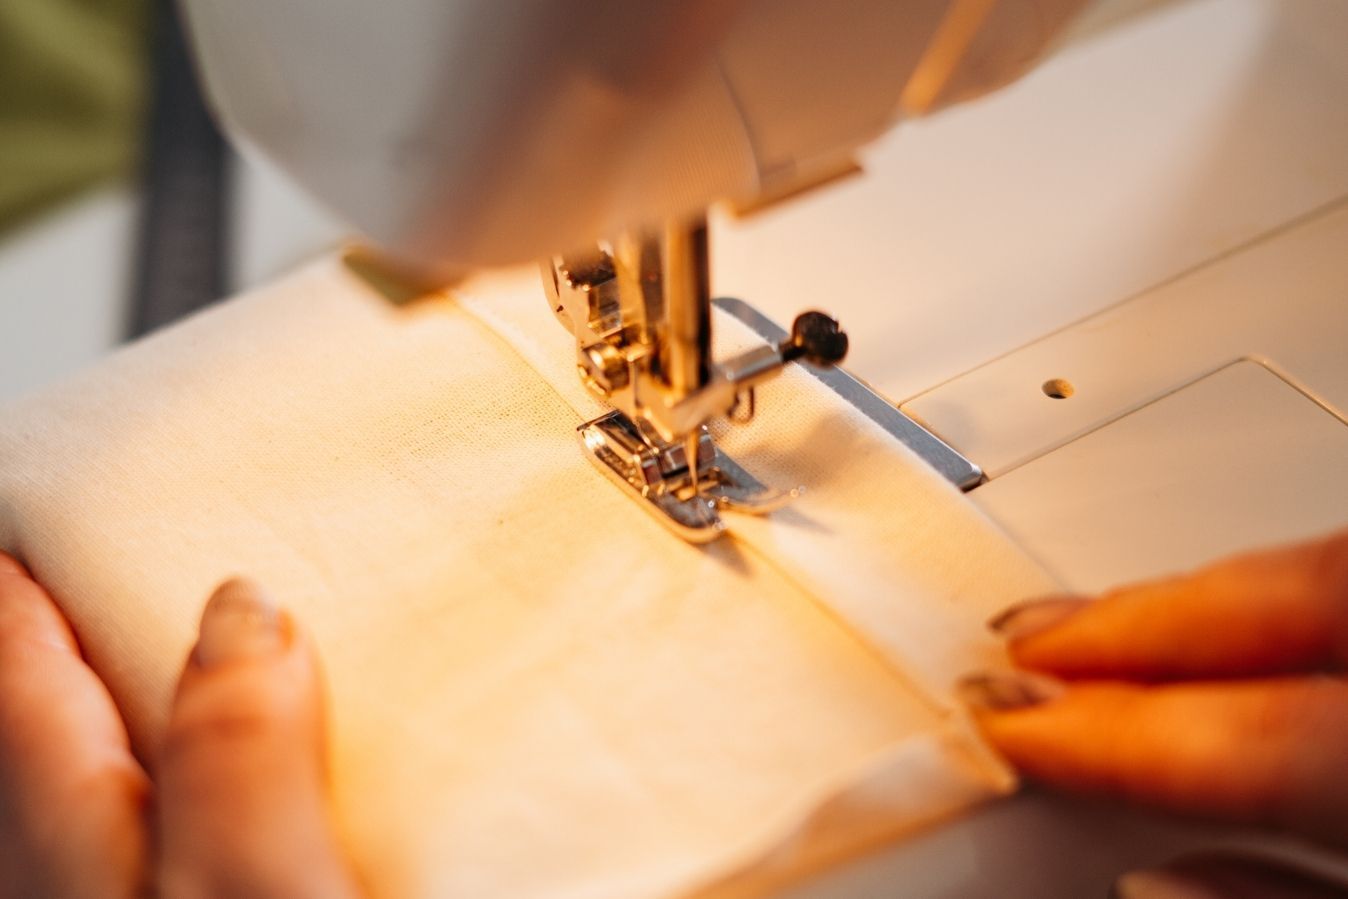
- Sewing machine
- Pinking shears (optional)
Time:
11 hours
Difficulty:
Intermediate
LET'S GET STARTED!
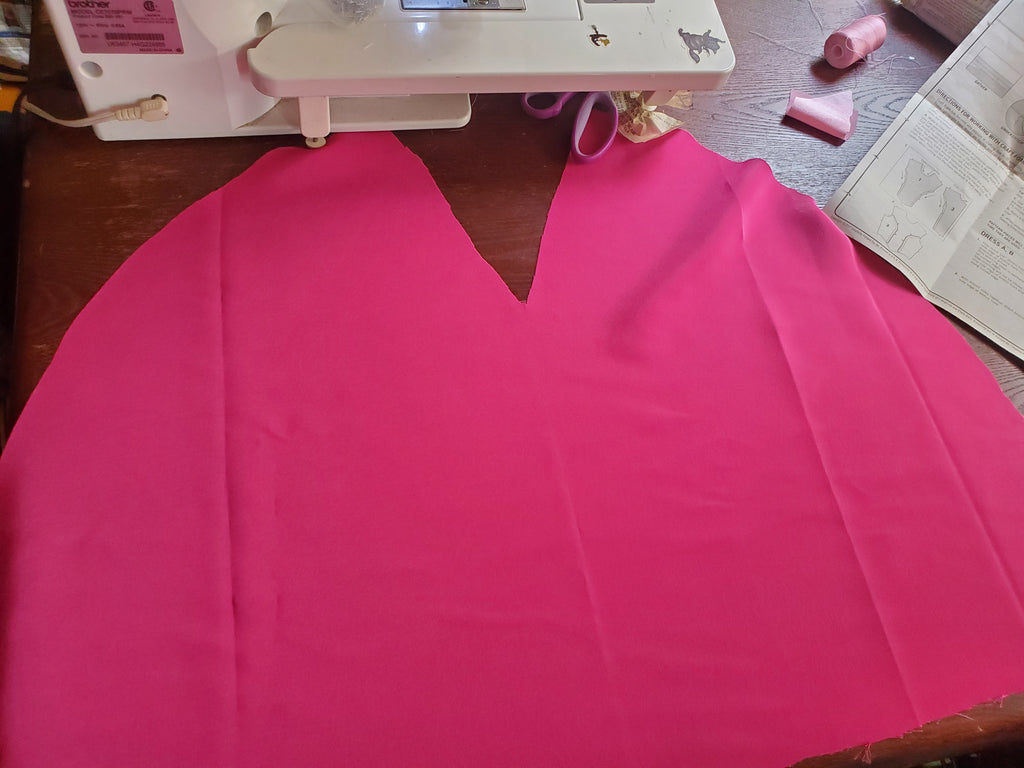
- Cut out the sewing pattern following your measurements for the dress version you wish to create.

- Stay stitch the neck edges and bodice side pieces

- Placing right sides together stitch the bodice and side front pieces together

- Attach the bodice and back pieces after that you will sew together the shoulders and side seams


- Next, to do the collar you will apply interfacing to the wrong side of one collar piece and sew the collar pieces together right sides touching each other. Once sewn turn the collar inside out and press.

- Pin the collar to the bodice and stitch.
- To make the bustle you will stitch a dart using the open seam as noted on the sewing pattern. Sew the edge of the bustle to make the hem.

- Taking the upper edge sew 2 rows of stitching using the loosest stitch length setting on your machine and gather the bustle pieces
- With right sides together sew the bustle pieces to the lower edge of the bodice.

- To make your skirt take the skirt back and side front pieces and stitch them together leaving an opening for your zipper.

- Just like in step 8 sew 2 rows of stitching to gather the top of your skirt.


- Now you will make your lower band pieces by stitching together your band pieces by 3's. You should be left with 2 bands made up of 3 lower band pieces.

- Stitch the lower band pieces right side together and then turn the band inside out and press. Lastly, you will attach the lower band to the bottom of your skirt and stitch.


- Following steps 2,3,&4 you will repeat these steps on the bodice lining.

- To install the bodice lining you will pin the lining to the bodice on the inside and follow along the seams and stitch

- To hide raw edges of dress slip stitch the lining on the seam where the bodice meets the skirt.

- To create the sleeves sew 2 channels of stitching on the top and bottom of the sleeves and gather to form puff sleeves. Gather the lower edges of the sleeve so that it matches the lower sleeve band.


- Stitch the band onto the sleeve forming a casing to fit elastic


- Inserting the sleeve right side out hold the dress wrong side out and stitch the sleeve into the armhole. Making sure to gather the upper edge of the sleeve to fit the bodice.

- Turn the dress right side out and install the zipper to the back of the dress. Pinning the zipper on both sides. Sew using a stretch stitch backstitching at the beginning and end. Once you have completed this step your Princess Peach dress is complete!