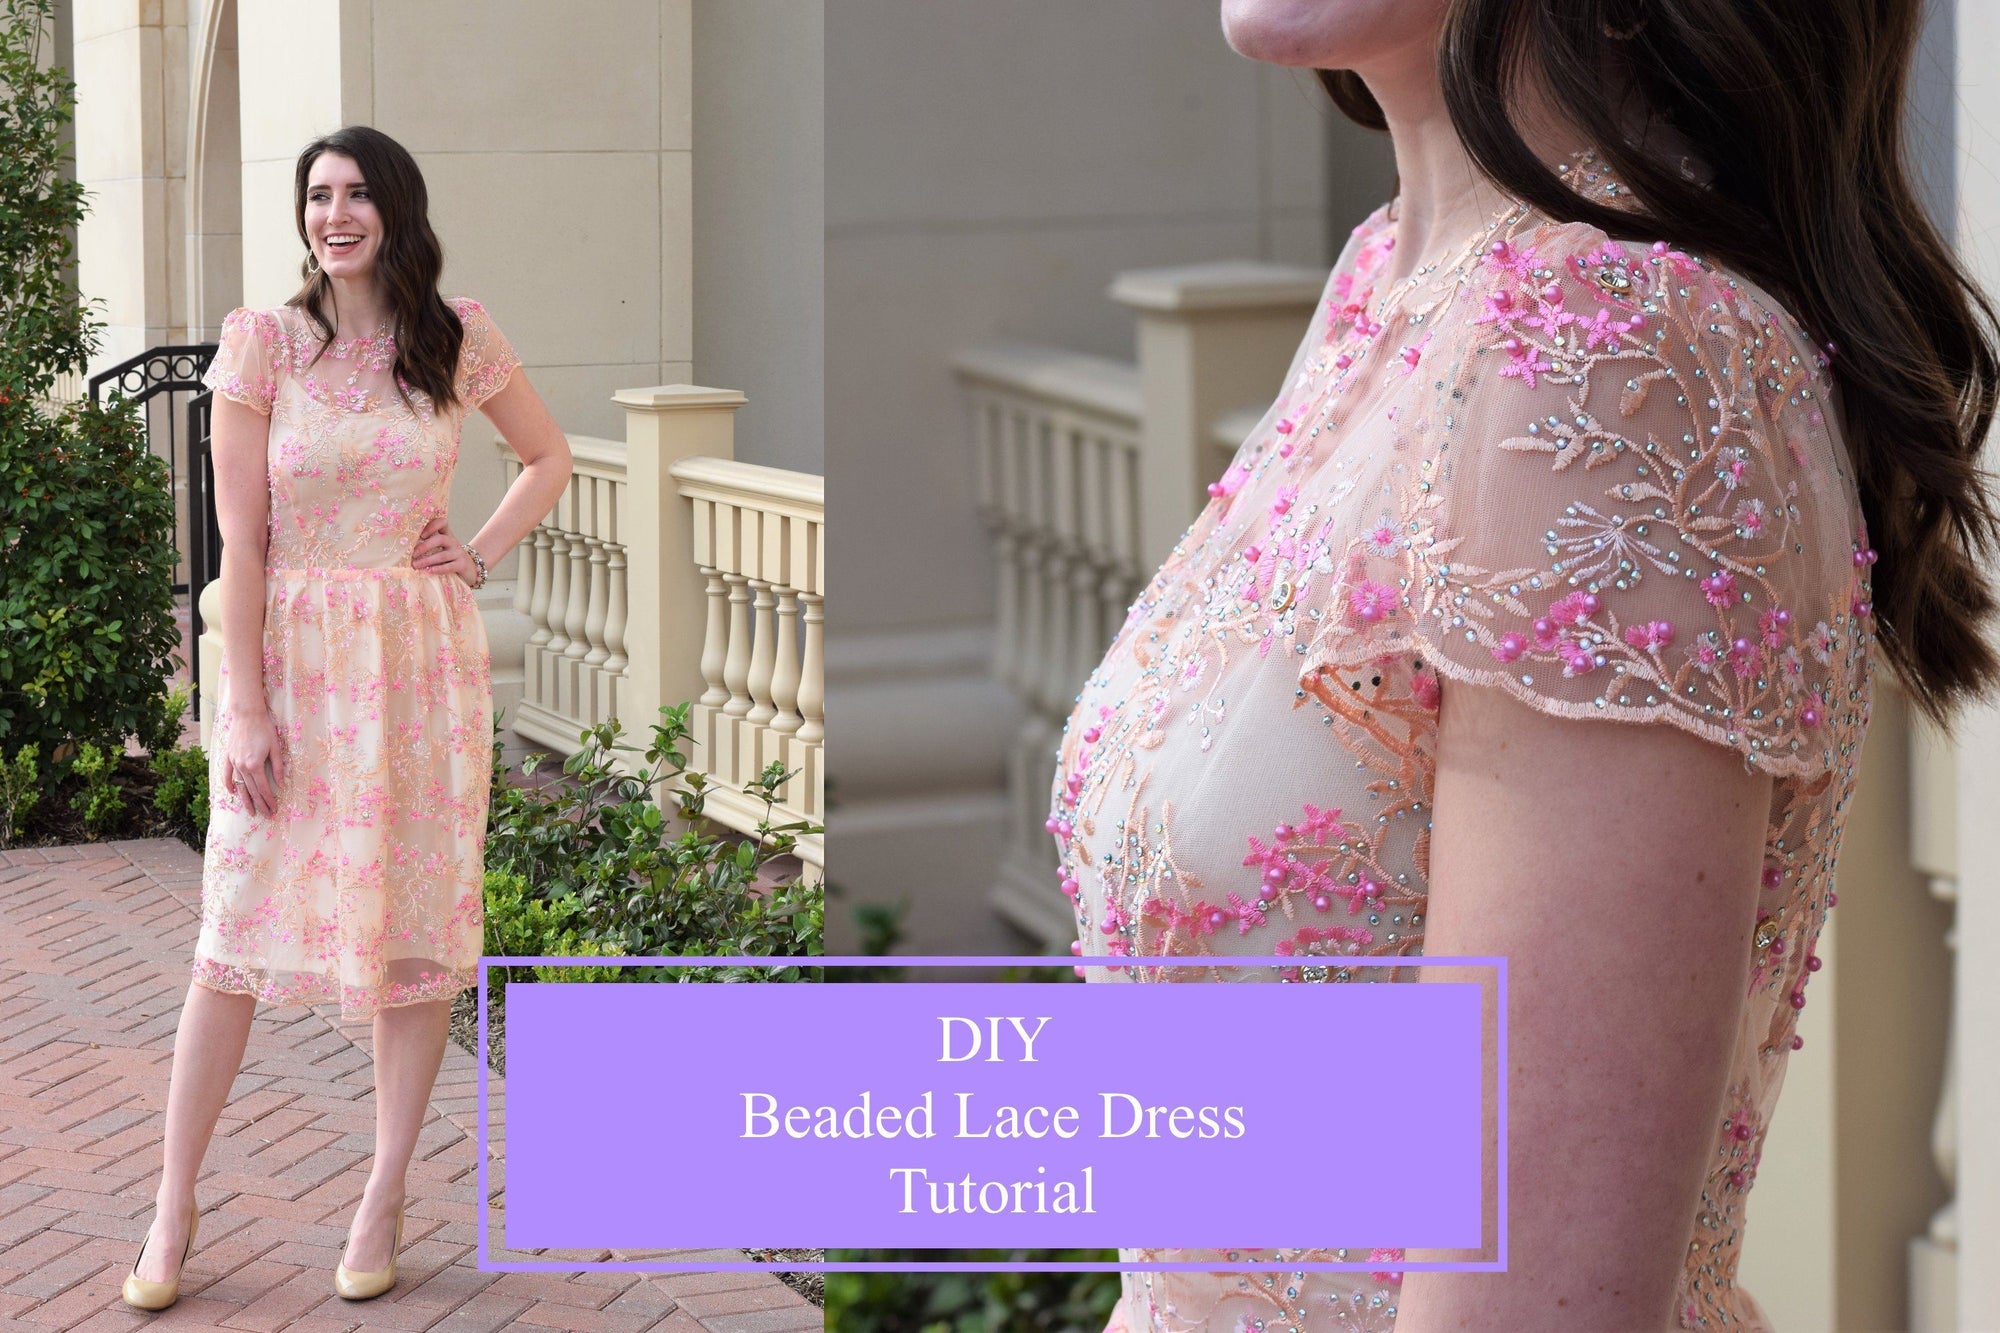
A DIY Lace Trimmed Satin Slip Dress Sewing Tutorial
As we move into December, it’s time to think about what to wear to holiday parties! Everyone has their fair share of little black dresses, but at Christmas it feels more appropriate to pull out a little red dress, don't you think?
A silhouette that is very simple to create, but also very elegant to wear, is the slip dress. Since it is a tube shape, getting a good fit is easy! Start with matte satin from Fabric Wholesale Direct and then add on details like beautiful lace and cording for the straps to make it a truly special piece.
Paired with a sweater and some boots, or just as is if you live in a warmer climate, this little red dress is the perfect outfit for Christmas Eve dinner, a holiday party, or even NYE! Check out the full sewing tutorial below!
SUPPLIES:
- 2 yards Red Matte Satin
- 2 yards Red Lace
- 1 yard Red Cord
- Matching Fabric Thread
- Measuring Tape
- Fabric Scissors
- Pins
- Sewing Machine
TIME: 3 Hours
DIFFICULTY: Beginner

-
Start by folding your fabric in half so it is 1 yard wide. Cut out your pattern pieces as shown in the instructions so that you have 2 FRONTs and 2 BACKs. You will be making a top layer and a lining layer with these four pieces.
-
Take your FRONT pieces and add horizontal darts about 2” below the arm pit that are about 5” long.
-
Place one of the FRONT pieces on to a BACK piece with the arm holes lined up and the right sides of the fabric touching, and pin along the sides. Repeat on the other set of FRONT and BACK pieces, and then sew along the sides.
-
Take your two dresses and turn one of them right side out. Place that dress inside of the other one and pin the entire top section together. Sew along the top about ¼” from the edge of the fabric, leaving an opening at the top of the triangles on the front and two spots on the back about 5” from the edges of the dress where the cording will be inserted. Flip the top layer to the inside of the other layer so that you have the right side facing out.
-
Take your cording and cut it in half. Slide it into the slots you made in step 4 and pin in place. Try the dress on and adjust the length of the straps to fit you. Remove the dress and sew all along the top edge once again, this time sewing along the openings to keep the straps in place.
-
The last step is to hem the top layer of the dress and then add on the lace. Pin and sew some of the lace along the lining edge so that it sticks out beneath the top layer. Also pin some lace to the back side of the fabric all along the top edge of the dress to have some peeking out. Sew along the seam you created in step 5 to keep it in place.
HERE'S HOW IT LOOKS WHEN YOU ARE FINISHED!

 Transparent
 White
White
 Pink
Pink
 Red
Red
 Orange
 Tan
Tan
 Beige
Beige
 Ivory
Ivory
 Yellow
 Gold
Gold
 Brown
Brown
 Green
Green
 Blue
Blue
 Purple
 Grey
Grey
 Black
Black
 Multi
Multi
 Abstract
 African Print
 Animal Print
 Baby & Nursery
 Buffalo Check
 Camo Print
 Celestial
 Chevron
 Church
 Damask
 Embroidered
 Floral
 Geometric
 Gingham Check
 Houndstooth
 Licensed
 Paisley
 Plaid
Plaid
 Polka Dot
 Sports
 Stripe
 Tie Dye


1 comment
LINDA AMERIGO
Lovely!
Lovely!