White
White
 Pink
Pink
 Red
Red
 Orange
 Tan
Tan
 Beige
Beige
 Ivory
Ivory
 Yellow
 Gold
Gold
 Brown
Brown
 Green
Green
 Blue
Blue
 Purple
 Grey
Grey
 Black
Black
 Multi
Multi
 Abstract
 African Print
 Animal Print
 Baby & Nursery
 Buffalo Check
 Camo Print
 Celestial
 Church
 Damask
 Embroidered
 Floral
 Geometric
 Gingham Check
 Houndstooth
 Licensed
 Paisley
 Plaid
Plaid
 Polka Dot
 Sports
 Stripe
 Tie Dye

Project Description
Spring is just around the corner! With that being said, what’s a better project than creating your own mini boho dress to match the season! In this tutorial I’m going to show you how to make a beautiful dress that is right for the upcoming season.
Supplies
Here's what you will need!
- 4 Yards of African Print (90271-3)
- 2 Yards of Stretch Broadcloth
- Sewing Pattern
- 10 ¾” Buttons
- Chalk
- Ruler


STEP 1 Cutting The Pattern
After printing out the free pattern from Mood Fabrics, we’re going to tape all the pieces together like shown below. Cut the pattern to your size.


STEP 2 Pin the Pattern
After cutting your size we are going to pin the following pieces to the African Print fabric: Sleeves, side front skirt, side back skirt, back, front, front bodice, side front bodice. These names will be printed out the bodice.
STEP 3 Pin the Side Back Bodice
After step 2 we are going to pin the side back bodice to the side back skirt piece. Repeat this step to the side front of the bodice and the skirt side front.


STEP 4 Pin Together & Sew
Next, we’re going to pin the back, side back, side front, and front of the bodice all together and sew. In the above photo I labeled what the pieces will look like pinned together.
STEP 5 Sew Shoulder Straps
Then, it’s time to sew the shoulder straps together like shown above.


STEP 6 Checkpoint
In the first photo below, it demonstrates what the dress will look like after sewing all the pieces together. The second photo is for the next step where we are going to fold the front piece over an inch.
STEP 7 Stitch Bodice
After folding over the front bodice over an inch, we’re going to stitch at 1”.


STEP 8 Sleeve Marking
Now it’s time for the sleeve! The green dots and lines show where we are going to be gathering the fabric. Use your chalk to make the markings so it’s easy to follow on your sewing machine. Once we’re done gathering, we’re going to attach the bottom of the gathered sleeve to the cuff. For the Black fabric, we’re going to cut only the sleeves, cuffs, and belt. The pieces will be part of the free pattern.
STEP 9 Sew Sleeve
After the gathering, we’re going to fold the sleeve over on the “wrong side” and sew. Afterwards, it’s time to sew it to the main garmen, like shown above.


STEP 10 Buttons Marking
Now for the buttons! Grab your ruler and chalk, we’re going to mark where we are placing the button holes and the buttons. For the first button hole/button marking we’re going to mark at 1/16th of an inch. After that first marking, we’re going to mark at every 2 inches. Once you repeat this on both sides of the front fabric, we can sew on the buttonholes alone with the buttons.
STEP 11 Checkpoint
After Step 10, your garment should look like this.


STEP 12 Sew Belt
Next, it’s time to sew the belt . Using the sewing pattern, we’re going to cut four pieces of the belt and sew them together on the ends. After sewing them, we’re going to fold the fabric hotdog style and sew it together. Make sure to leave one of the ends open so we can turn the garment inside out.
STEP 13 Add Pocket
Now time for the pocket(s)! This step is completely optional. You can add two pockets or just leave it at one like I did. We’re going to pin the pocket to the dress like shown above. Slightly fold the edges in before sewing, so you don’t get any fraying fabric.


STEP 14 Checkpoint
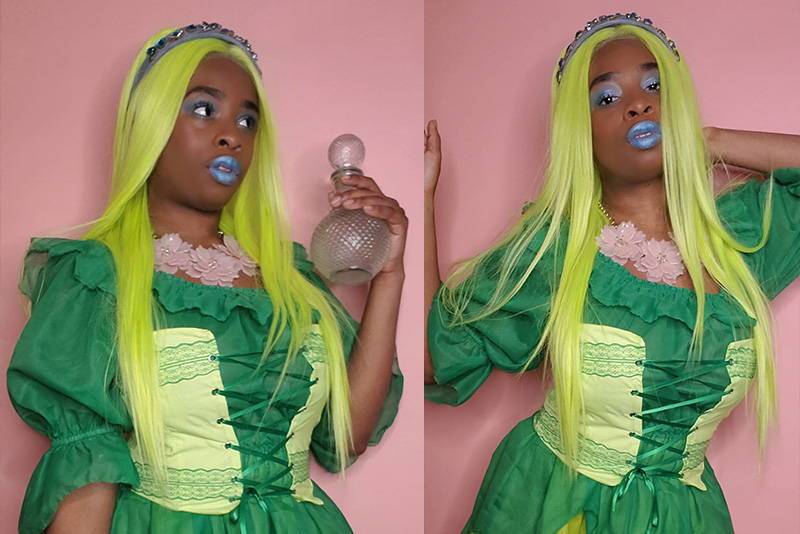
Then Voila, You’re finished ! You’re ready to take on the world in your beautiful Boho dress.
Complete!