White
White
 Pink
Pink
 Red
Red
 Orange
 Ivory
Ivory
 Yellow
 Gold
Gold
 Brown
Brown
 Green
Green
 Blue
Blue
 Purple
 Grey
Grey
 Black
Black
 Multi
Multi
 Abstract
 African Print
 Animal Print
 Baby & Nursery
 Buffalo Check
 Camo Print
 Celestial
 Church
 Damask
 Embroidered
 Floral
 Geometric
 Gingham Check
 Houndstooth
 Licensed
 Paisley
 Plaid
Plaid
 Polka Dot
 Sports
 Stripe
 Tie Dye

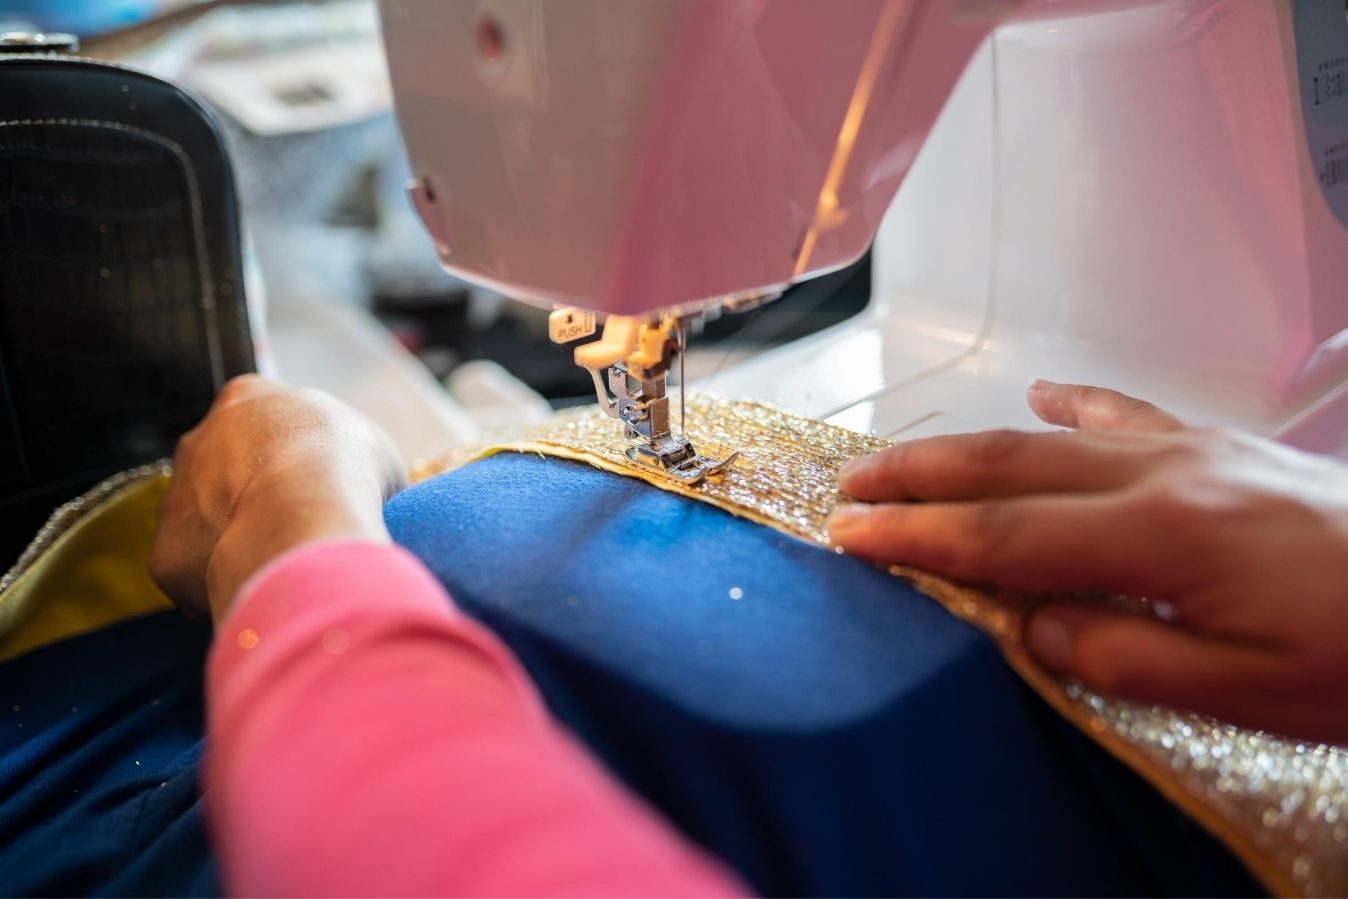
As the USA is going on month seven of the COVID-19 pandemic, it’s safe to say we have adopted mask culture. Most places require masks be worn to prevent the spread of COVID. Though it’s an important safety item, it can also be a fashionable one!
Cotton masks we can make, wash, and reuse are a great way to show off your style while also reducing waste. There are tons of different mask style to choose from, but the important thing is that the mask is made from two layers of cotton fabric and covers your nose and mouth.
This blog shares two easy to make mask styles which require no pattern. Each mask uses elastic and a cotton, plaid fabric which is perfect for the Fall season. The first method is a quick pleated mask which most closely resembles medical masks worn in hospitals. It is a tried and true mask style that fits well on all face types. The second method is a boat style mask, or 3-D mask, which has a flat pane across the mouth and two flaps to go over the nose and under your chin. This style is not as common, but provides a very smooth and unique look. Whichever style you choose, you can adjust the elastic length to best fit your face.
As a bonus, this tutorial also includes instructions for making a scrunchie to match your mask! Take a look at the tutorials below to style a new mask this Fall!
Pleated Mask Tutorial
Supplies:
- 100% Cotton Fabric cut into a 14” x 9” rectangle (I used the Madras Plaid Style 15928)
- 2 Pieces of 1/4" Wide Elastic Cut to 7" Long
- Thread to Match Fabric
- Sewing Machine
- Pins
- Fabric Scissors
- Iron (optional)
Time:
15 min
Difficulty:
Easy
LET'S GET STARTED!
- Take your fabric and fold it in half so you make a rectangle that is 7" x 9". Within this fold, slide your elastic inside and pin it between the layers of fabric at the fold and then at the corner below it about 3/4" from the edge of the fabric. The elastic should create a C shape inside the layers of the fabric with a small amount of the ends of the elastic sticking out at the sides. Sew along the 7" sides of the fabric to secure the elastic and close the sides of the mask.


- Turn your mask right side out. Fold the bottom edges inward about 3/8" and pin along the side. Sew along the bottom edge.

- The last step is to create the pleats. Starting at about 1" from the top edge of the mask, fold a 0.5" piece of fabric to the back and secure it with a pin on both edges. Repeat to create two more pleats. Sew along the edges of the mask to secure the pleats.


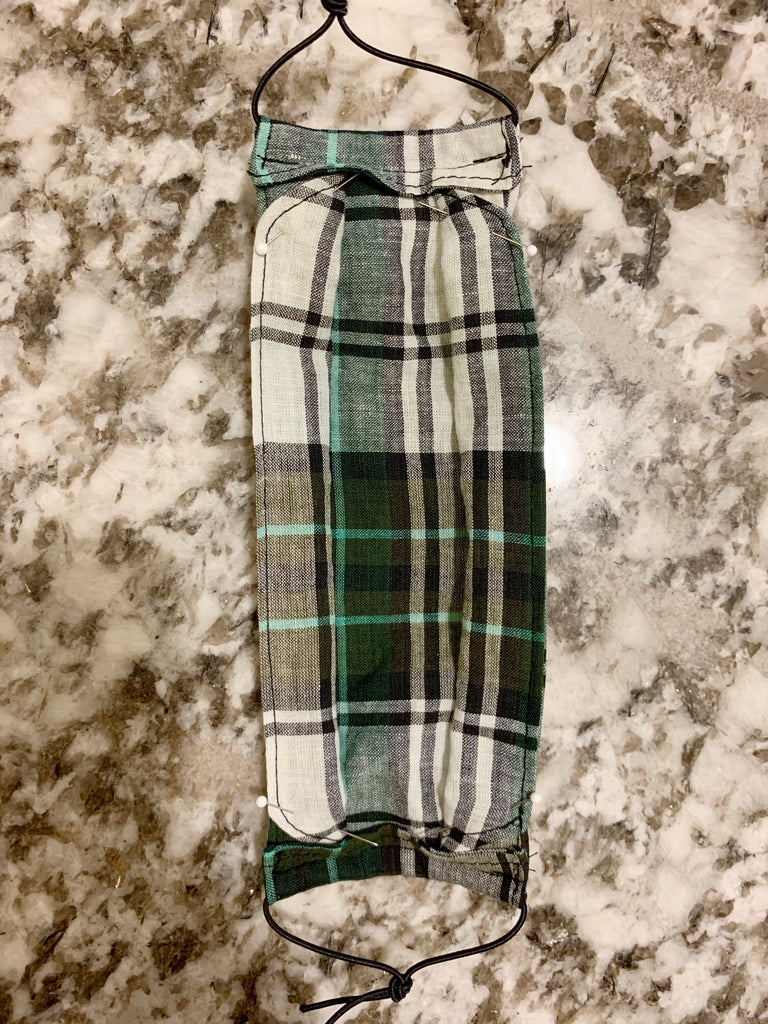
Boat Style Mask Tutorial
Supplies:
- 100% Cotton Fabric cut into 2 a 10” x 7” rectangles (I used the Madras Plaid Style 15928)
- 2 Pieces of Rope Elastic Cut to 8" Long
- Thread to Match Fabric
- Sewing Machine
- Pins
- Fabric Scissors
- Iron (optional)
Time:
30 min
Difficulty:
Easy
LET'S GET STARTED!
- Take your two pieces of fabric and lay one on top of the other. Fold the rectangle once across the middle and then again in the other direction to make a smaller rectangle. On the corner without any folds, measure about 1.5" in on each side and cut the corner off at these points. Unfold so you have an octagon shape. Pin around the outside edges and sew all edges but one.


- Turn the mask right side out and tuck the edges in at the opening. Pin them closed. Sew all the way around the mask to give it a nice border.

- Take the octagon shape and fold the long side up at the corners. Repeat with the other long edge. Pin the sides down and sew just along the folds to secure them.

- Take your pieces of elastic and place them at the short ends of the mask. Fold the edges over to cover them, pin, and sew to secure, making sure to not sew over the elastic. Tie the ends of the elastic together.

- The final step is to take the long folded in sides and fold them outward so the long sides meet the long edge at the top and bottom of the mask. Sew a straight line along both short ends to secure the flaps. Try on the mask to confirm the elastic is the right length for your face, readjust the knots if needed, and then use a scissors or fork to poke the knot into the pocket to hide it.


Bonus: DIY 5-Minute Scrunchie
Supplies:
- Fabric cut into a 14” x 3.5” rectangle (I used the Madras Plaid Style 15928)
- 1 Pieces of 1/4" Elastic Cut to 7" Long
- Thread to Match Fabric
- Sewing Machine
- Pins
- Fabric Scissors
- Safety Pin
Time:
10 min
Difficulty:
Easy
LET'S GET STARTED!
- Take your pieces of fabric and fold it in half length wise. Pin the edges together and sew along the long edge.


- Turn your fabric right side out. Pin your safety pin to the end of your elastic and string it through the tube of fabric, making sure the other end of the elastic doesn't get pulled all the way through. Fold one end of the elastic over the other end with about 1/2" overlapping, and pin together. Sew the ends of the elastic together.


- Take the ends of the fabric tube and tuck one inside the other, folding the edges over to make sure the edges of the fabric are not exposed. Sew along the edges to connect them.