 White
White
 Pink
Pink
 Red
Red
 Orange
 Ivory
Ivory
 Yellow
 Gold
Gold
 Brown
Brown
 Green
Green
 Blue
Blue
 Purple
 Grey
Grey
 Black
Black
 Multi
Multi
 Abstract
 African Print
 Animal Print
 Baby & Nursery
 Buffalo Check
 Camo Print
 Celestial
 Church
 Damask
 Embroidered
 Floral
 Geometric
 Gingham Check
 Houndstooth
 Licensed
 Paisley
 Plaid
Plaid
 Polka Dot
 Sports
 Stripe
 Tie Dye

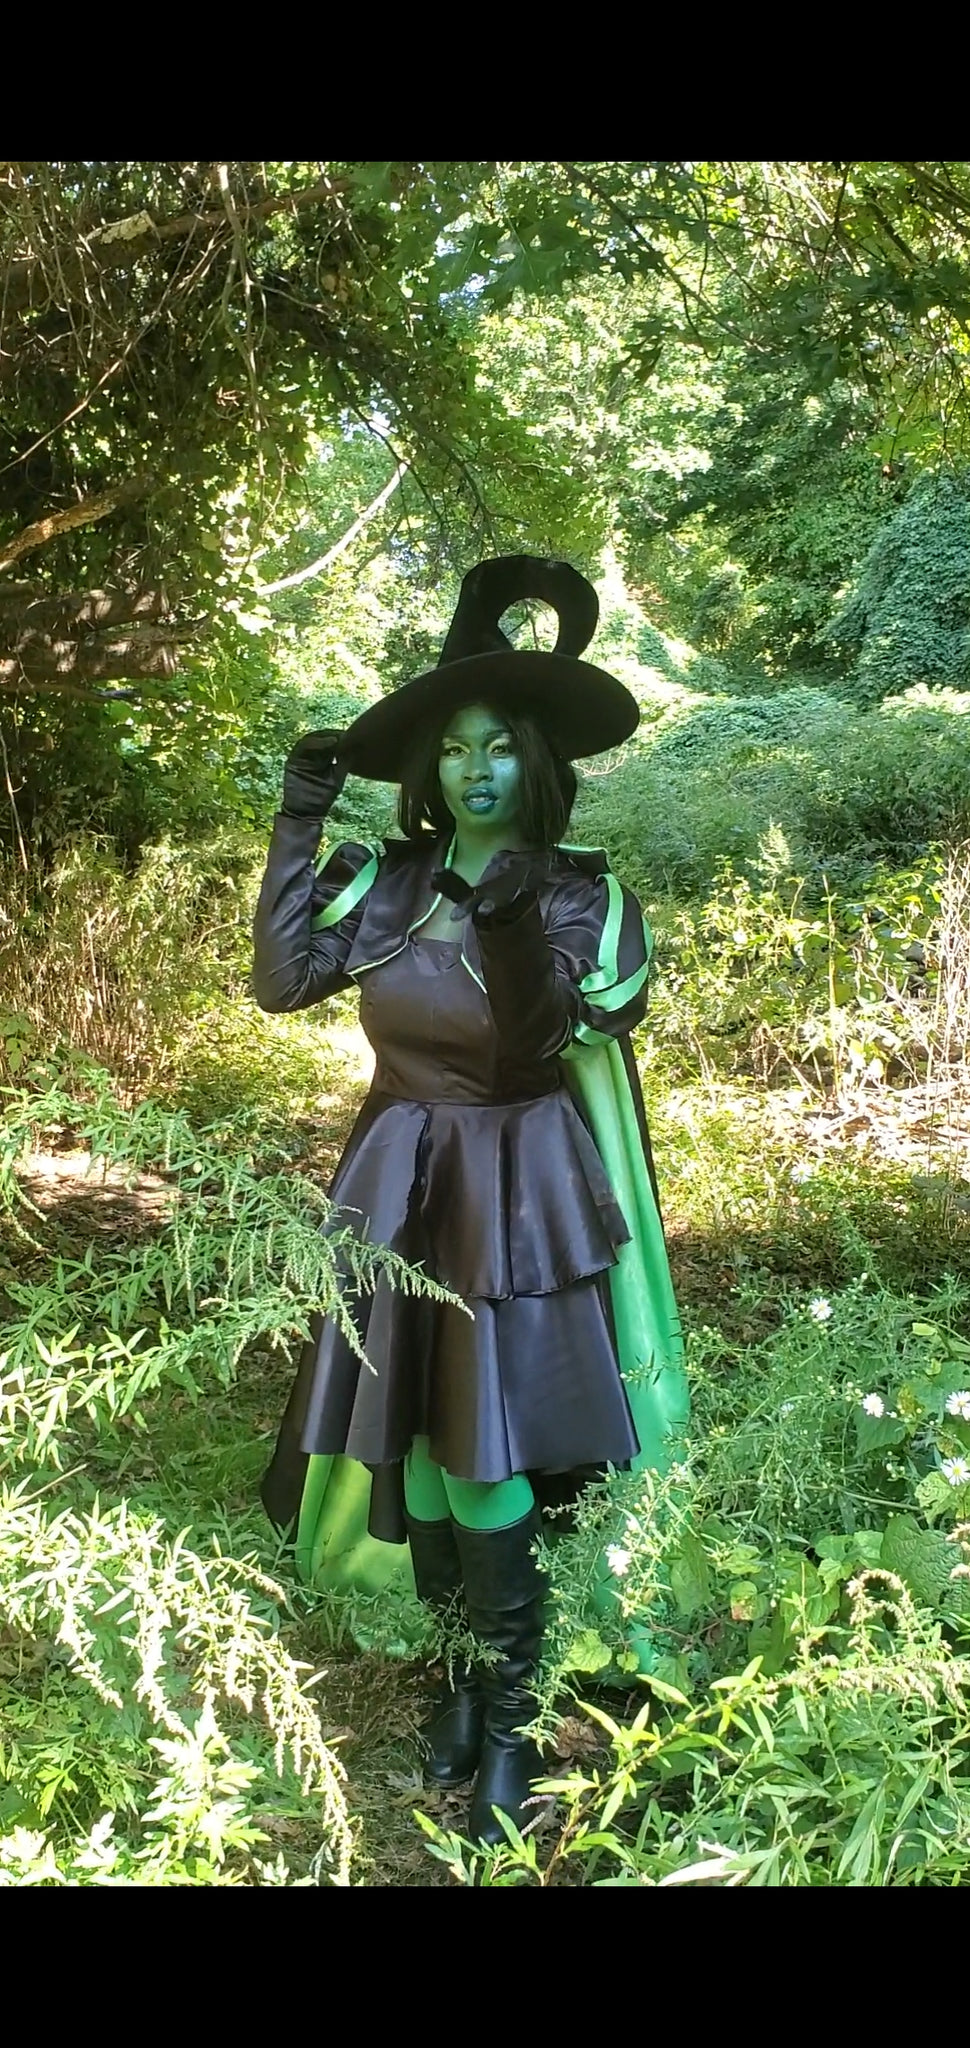
DIY Wicked Witch Costume Cosplay Tutorial
Get deliciously wicked this Halloween with your own witch costume! In this tutorial, I'm going to show you how to transform into your own beautiful nightmare so you can cast spells on everyone who lays their eyes on you!
Supplies:
- Mccalls M8127 Pattern
- 8 yard of Black Charmeuse Satin
- 4 yard of Apple Green Charmeuse Satin
- 1 yard of Black Poly China Silk Lining
- 1/5 yards of Fusible Interfacing
- 16" Black Invisible Zipper
- 1 ½ yard of Lacing
- Scissors
- Thread
- Sewing Pins
- Button Hole Foot
- Zipper Foot
- Buttons
- Ribbon
- Measuring tape
- Sewing machine
Time:
8 Hours
Difficulty:
Advanced
LET'S GET STARTED!
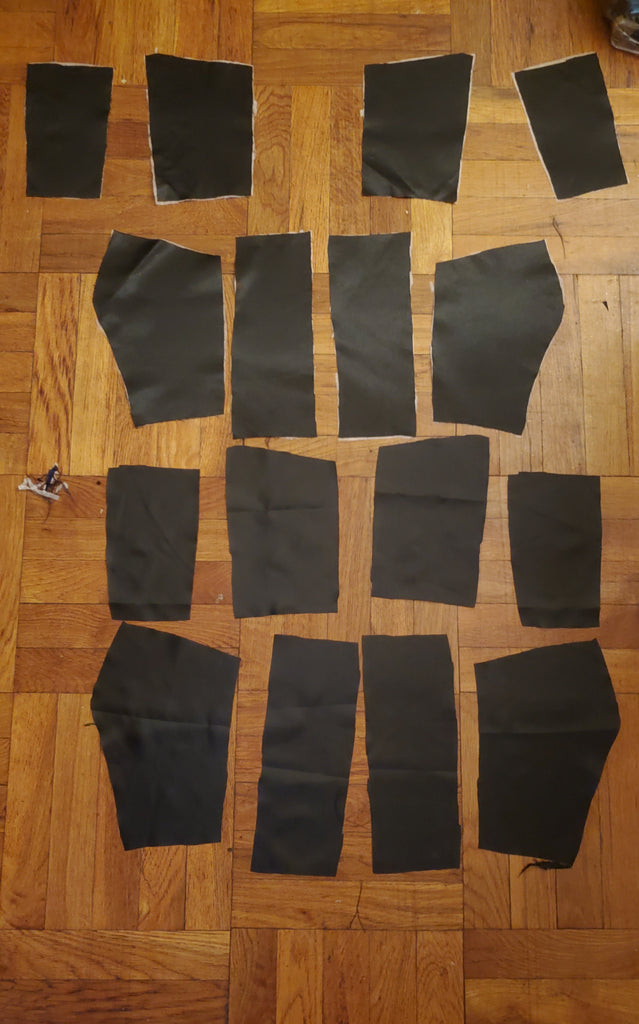
- Cut out the sewing pattern following your measurements for the Bolero, Dress, & Cape. Interface your pieces during this step.


- Starting with the bolero combine outside fabric and contrast fabric with right sides together. Stitch and turn pieces right side out, press to flatten with an iron on a low setting. Following the pattern sew the front and back pieces together at the shoulder and side seams.


- Next, sew the collar onto the back of the Bolero sewing only the interfaced piece.

- Next pin the top of the collar closed and slip stitch the opening shut.

- Moving on to sleeves cut out strips of the contrast fabric and pin it to the top and bottom of the sleeve puff. Sew 2 channels of stitching across the top and bottom to gather.


- Pin your sleeve puffs right sides together and sew.

- Take your sleeve casing and pin right sides together and sew to form the bottom sleeve.

- Pin the sleeve puffs to the sleeve casing right sides together and stitch.

- Next, sew the sleeves into the Bolero right sides together.
- Take your bodice lining and interfaced bodice pieces and sew them following the pattern.

- Sew polyester boning into the bodice lining according to the pattern placement.

- Attach the bodice lining and bodice right sides together and sew. Turn the piece inside out and press to flatten.


- To make the skirt you will take the back skirt piece and sew it closed leaving an 8 inch opening for the zipper installation.

- Next, lay the skirt front onto the skirt back and sew the pieces together at the sides.
- To form the peplums you will take the 4 peplum pieces and sew them together at the sides.


- With right sides up pin and sew peplum pieces to the skirt and stitch.

- With right sides together pin the bodice to the skirt matching the seams and stitch.

- Pin zipper into the dress starting from the opening of the skirt and working your way up to the bodice. Sew the zipper using a standard zipper foot.

- Using a buttonhole foot and a quarter coin create 3 buttonholes in the back of the bodice to create your lacing channel.

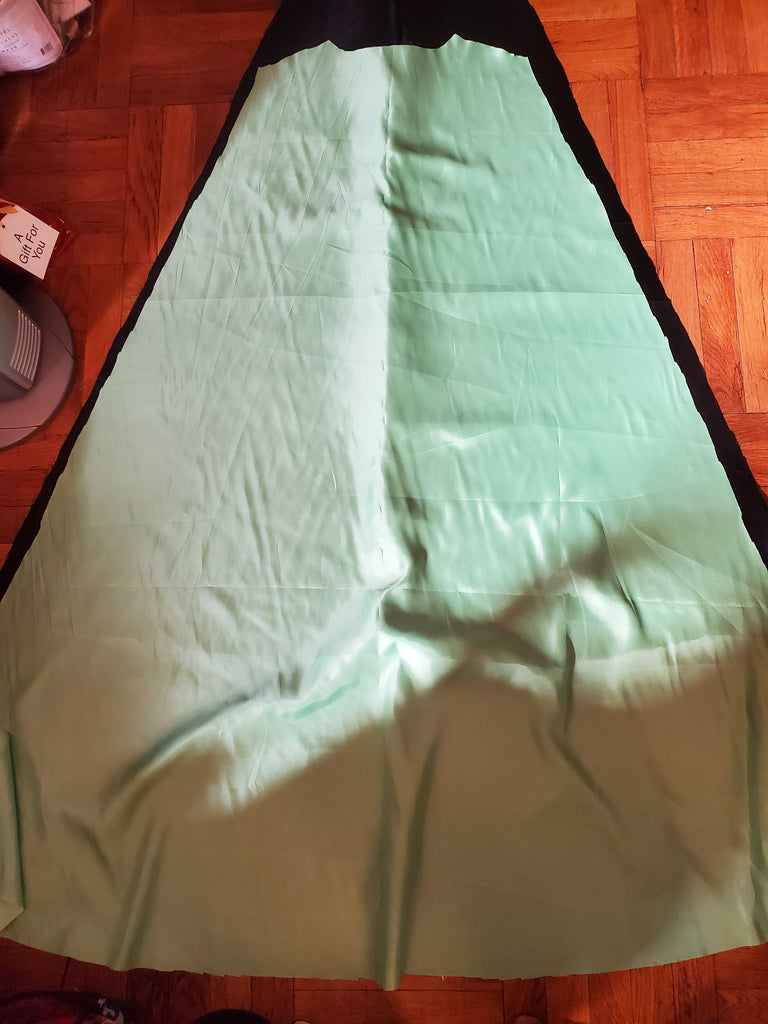
- Sew the center seam for the outer cape fabric

- Pin contrast ribbon to the top of the outer cape fabric

- Pin outer & contrast fabric right sides together leaving a 5 inch opening at the neck of the cape and stitch. Turn right side out and press the cape to flatten.

- Using your buttonhole foot sew 2 buttonholes onto the cape ribbons and attach buttons to the side shoulders of the bolero to hold the cape in place.

Now you're ready to ride and terrorize the neighborhood children!


1 comment
LOIS LEVENHAGEN
Don’t you press after each step??? if you don’t it will look
’homemade"! Also do some top stitching of cape & peplum & jacket. mor professional looking!
HOW DID YOU FINISH OFF THE SHIRT HEM AND SLEEVES?
’
Don’t you press after each step??? if you don’t it will look
’homemade"! Also do some top stitching of cape & peplum & jacket. mor professional looking!
HOW DID YOU FINISH OFF THE SHIRT HEM AND SLEEVES?
’