White
White
 Pink
Pink
 Red
Red
 Orange
 Tan
Tan
 Beige
Beige
 Ivory
Ivory
 Yellow
 Gold
Gold
 Brown
Brown
 Green
Green
 Blue
Blue
 Purple
 Grey
Grey
 Black
Black
 Multi
Multi
 Abstract
 African Print
 Animal Print
 Baby & Nursery
 Buffalo Check
 Camo Print
 Celestial
 Church
 Damask
 Embroidered
 Floral
 Geometric
 Gingham Check
 Houndstooth
 Licensed
 Paisley
 Plaid
Plaid
 Polka Dot
 Sports
 Stripe
 Tie Dye

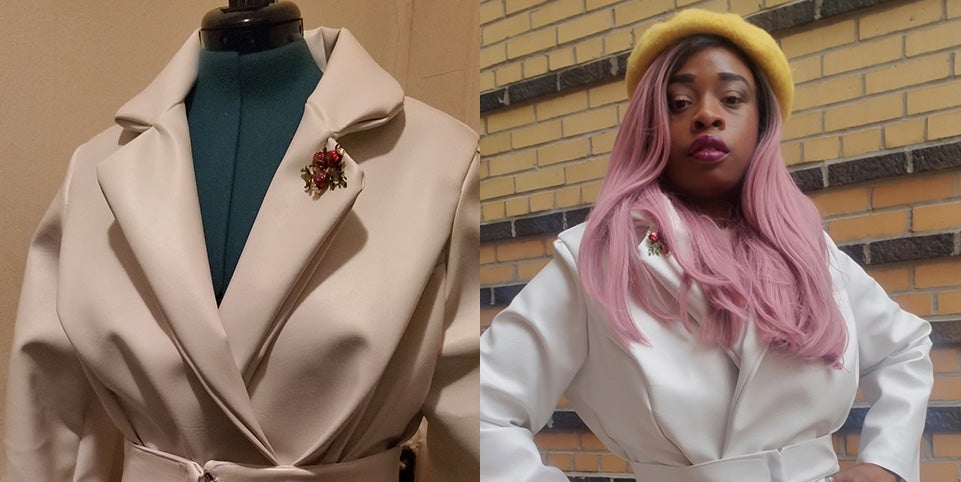
Project Description
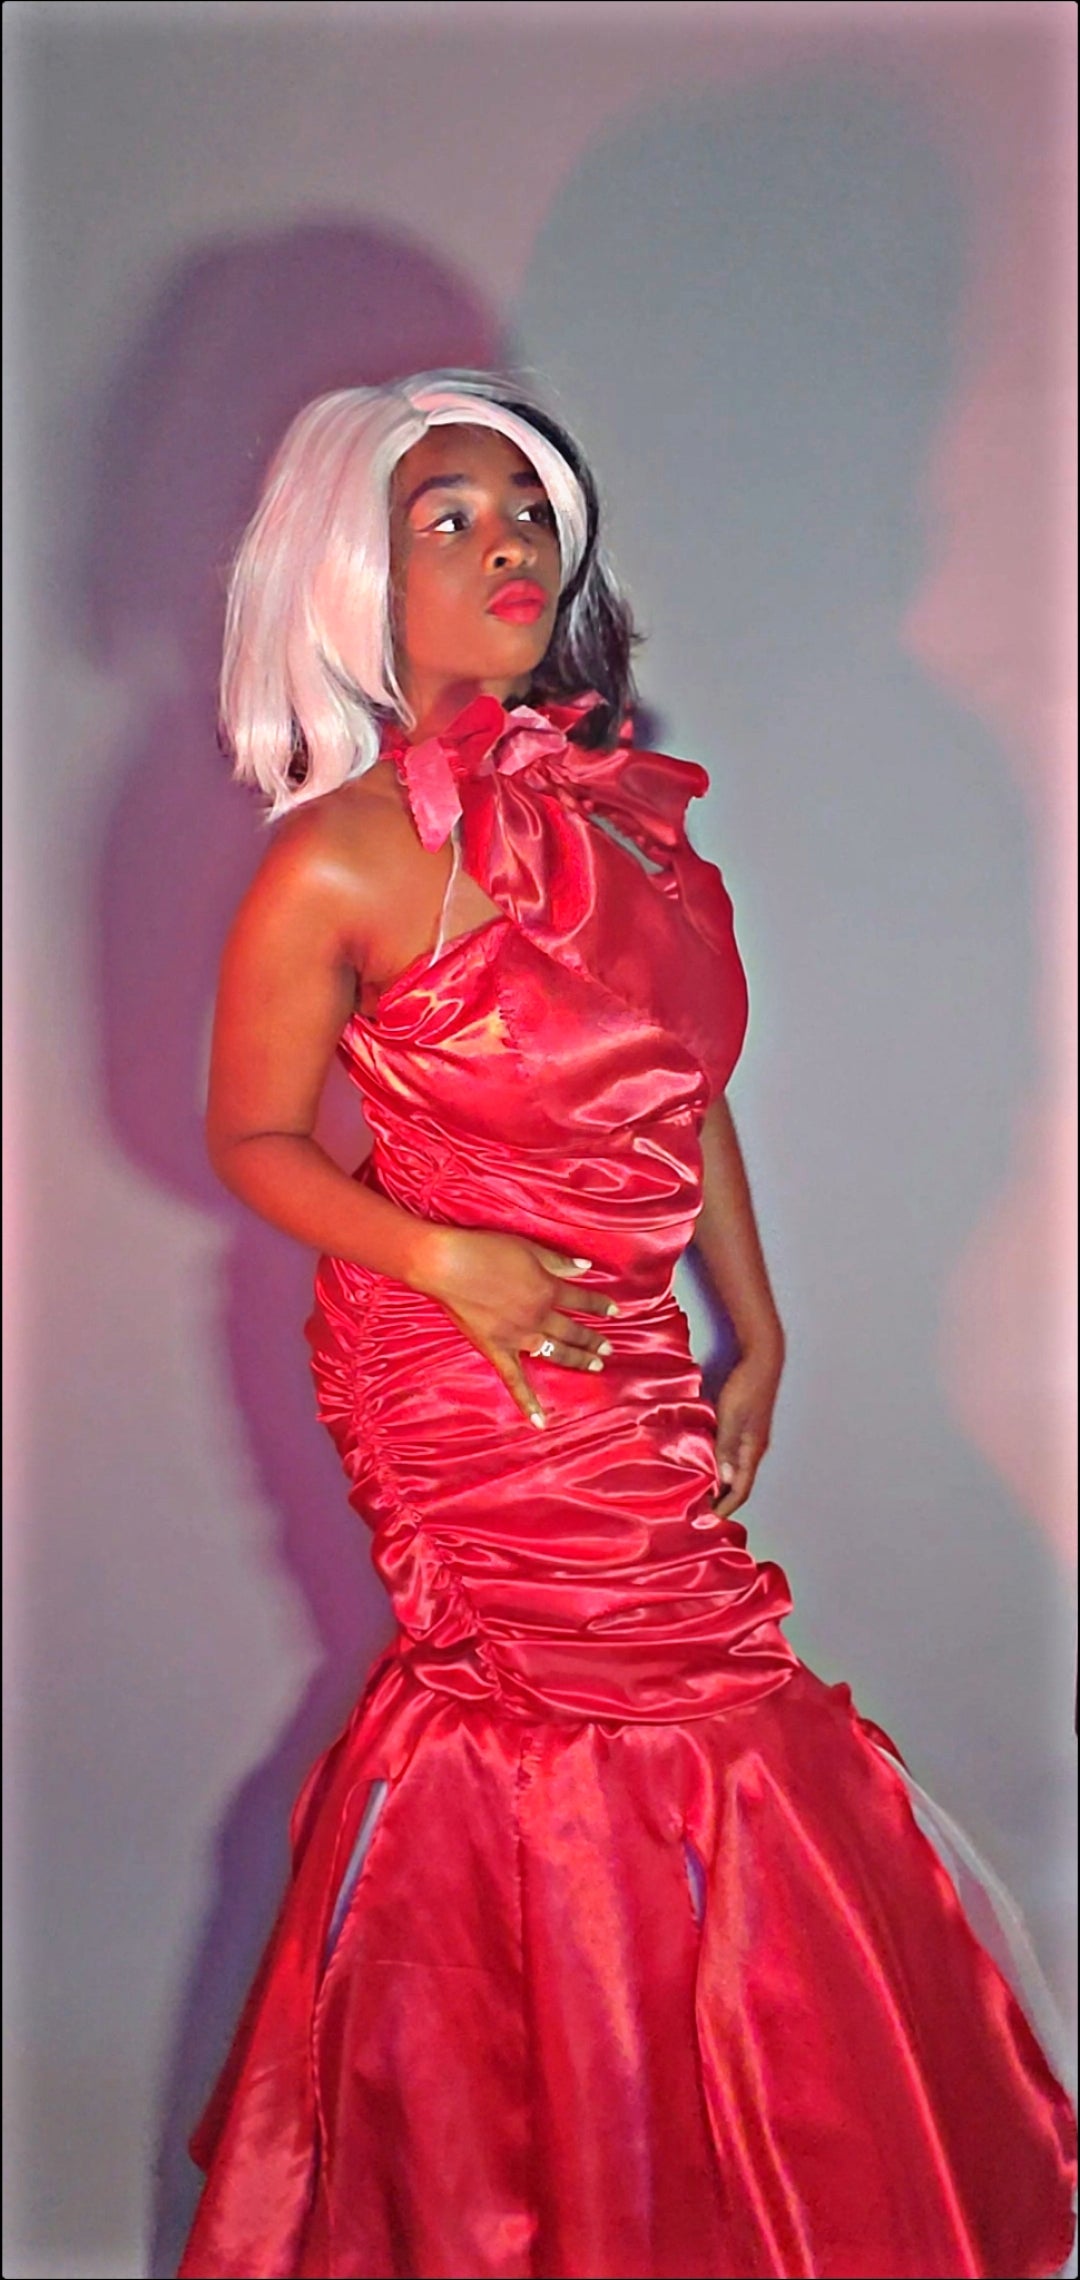
In celebration of the release Cruella, Disney’s new movie we present to you this Cruella Costume Tutorial. Cruella de Vil is a cold hearted but fashionable villain from the 101 Dalmatians franchise. In one of the most memorable scenes from the movie, Cruella de Vil lights her cloak on fire at a party to reveal a breath-taking red dress. Using this tutorial, sew your own red Cruella Costume in 22 simple steps. Bring out your dark side with this Cruella Costume Tutorial, it’s a SPOT-ON copy of the original.
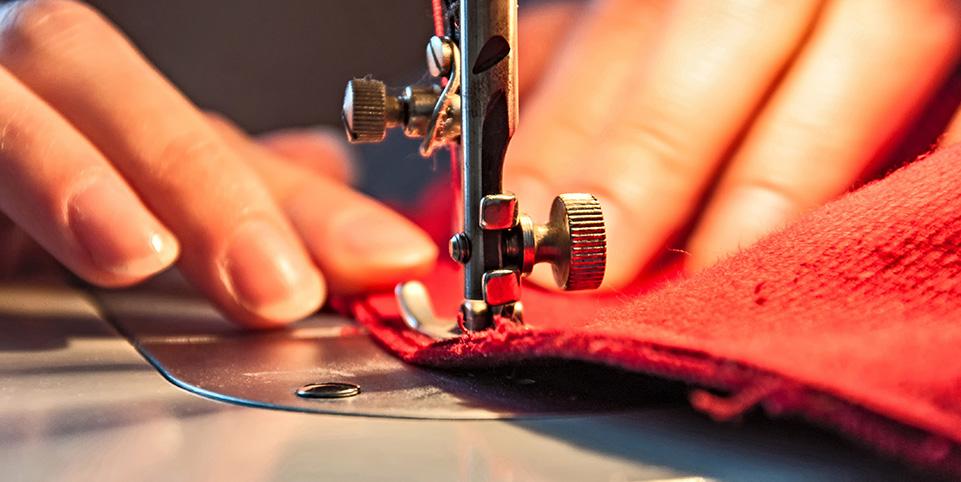
Supplies
Here's what you will need!
- Simplicity S9341
- 5 Yards of Off White Tulle
- 5 Yards of Red Poly China Silk Lining
- 5 Yards of Dark Red Charmeuse Satin
- 5 Yards of White Crinoline
- 1 Yards of Fusible Interfacing
- 1 Yard of fusible web
- Sewing Machine
- Rigiline boning
- 1 14" zipper
- Loop Turner
- 2" elastic
- Fabric Button making kit
- 1 14" zipper
- Zipper Foot
- Button Hole Foot (Optional)
- Iron
- Hook & eye loops
- Sewing pins
- Thread
- Scissors

STEP 1 Cutting the Pattern
Cut out the sewing pattern and fabric following your measurements.


STEP 2 Stitch Upper Edge
Stay stitch the upper edge and the side front of the dress. Repeat this step for the lining. Stay stitch the upper edge and side front of the front of the dress. Repeat this step for the lining.
STEP 3 Pin To Front Right Side
Stay stitch the upper edges of the side front pieces together. Next pin the front right sides together.


STEP 4 Stitch Yoke
Stay Stitch and narrow hem the yoke front. Afterwards, baste the yoke to the dress front.
STEP 5 Side Hem
Narrow hem the sides of the front drape. To gather the fabric, set your machine to its loosest stitch length and sew two lines of stitching.


STEP 6 Front Drape Gathering
Gently pull the lowest bobbin thread between the 2 lines of stitching to gently gather the front drape.
STEP 7 Top Front Drape Gathering
For the top front drape, use fusible web to stiffen the neck facing. Attach the neck facing to top front drape. Follow the pattern instructions for reinforcing the cutting lines. Next, cut out the pattern. Then sew two lines of stitching on the fabric, and gather the top front drape.


STEP 8 Attach Top Drape To Dress
Attach the top front drape to the dress front with basting stitches.
STEP 9 Attach Front Drape To Dress
Attach the front drape to the dress by pining the wrong side to right side of the dress. Baste the raw edges together to keep them in place.


STEP 10 Stitch Upper Edge
Stay stitch the upper edge of the back centerpiece and side pieces together.
STEP 11 Hem And Gather Back Drape
Hem and gather the back drape and baste them into place. Once complete, place the front and the back of the dress, right side together. Next stitch the fabric, leaving a 15" opening for the zipper.


STEP 12 Mark and Hem Yoke
Mark the cutouts on the yoke back-sections and reinforce them with stitching. Once complete, pin, baste, and hem the yoke sections to contrast the fabric. Using the center back pattern piece for placement guidelines, baste the yoke back sections to the back of the dress.
STEP 13 Attach Zipper
To attach your zipper, first baste the zipper to the dress. Next, finish the zipper with machine stitches.


STEP 14 Sew Lining Pieces
Using Step 2 as a guide, sew your lining pieces together and leave an opening on one side for the zipper. Form boning channels in the lining by pressing and folding the seams together. To finish this step. cut out the boning.
STEP 15 Sew Lining To Dress
With the right sides together, sew the lining to the dress at the bodice and turn the garment to the inside.


STEP 16 Stitch Lining To Zipper
Slipstitch the lining to the zipper so the raw edges are hidden.
STEP 17 Apply And Sew Interfacing
To create the dress facing, apply interfacing to both the front and the back facings of the dress. Sew them together on their right sides. Next, press and hem the fabric before attaching it to the top of dress, with their right sides together. Finally, stitch and turn into place.


STEP 18 Collar
Interface the collar piece using a hot iron. Next fold over the fabric and hem. To sew the collar, fold the fabric over 1/4" and press it. Now, sew the outer edges of the collar, and turn the collar right side out.
STEP 19 Attach Collar
Baste the collar to the front and back pieces of the dress. Next close the collar by slip stitching the fabric. For a decorative effect, cut the top of the gathered front neck drape into strips, and install two snaps to the collar.


STEP 20 Attach Flounce Pieces To Lining
For the flounce lining, staystitch the top of the flounce pieces and attach them with their right sides together. Next, attach the right sides of the flounce together to the dress lining. Finally, hem the bottom of the dress.
STEP 21 Stitch Flounce Pieces Together
For the flounce overlay, stay stitch and sew both flounce pieces together on their right sides facing each other. Cut out the pieces following the pattern instructions. Next hem the raw edges. Finally baste the flounce overlay to the dress.


STEP 22 Finishing And Adding Poof
Lastly, gather all 6 layers of tulle and crinoline by sewing 2 rows of stitching using a long stitch length. Next gather the fabric and pin the right sides of netting to the dress. Lastly, stitch the fabric. Congratulations, you have completed your own red Cruella Costume dress.