White
White
 Pink
Pink
 Red
Red
 Orange
 Tan
Tan
 Beige
Beige
 Ivory
Ivory
 Yellow
 Gold
Gold
 Brown
Brown
 Green
Green
 Blue
Blue
 Purple
 Grey
Grey
 Black
Black
 Multi
Multi
 Abstract
 African Print
 Animal Print
 Baby & Nursery
 Buffalo Check
 Camo Print
 Celestial
 Church
 Damask
 Embroidered
 Floral
 Geometric
 Gingham Check
 Houndstooth
 Licensed
 Paisley
 Plaid
Plaid
 Polka Dot
 Sports
 Stripe
 Tie Dye

Project Description
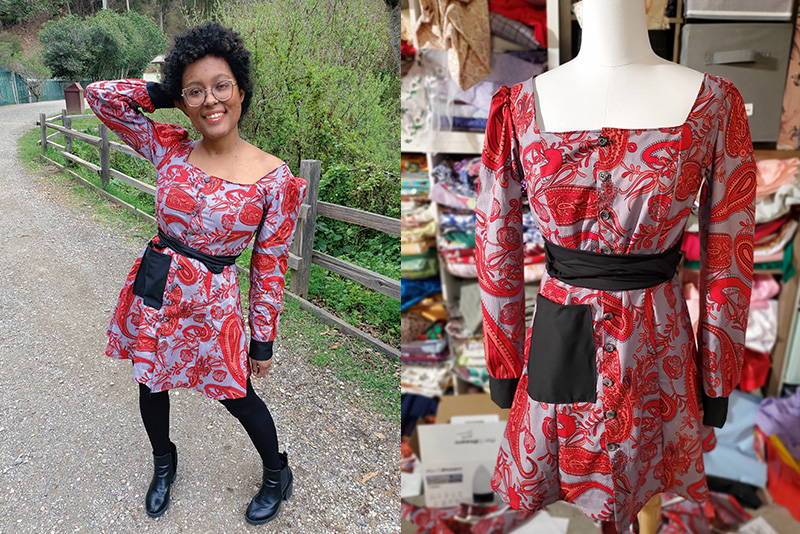
The most exciting thing about sewing is being able to create anything you want. From following a pattern you have picked out, to drafting your very own design, the possibilities are endless! Sometimes, inspiration strikes simply when you want to achieve a look for less when the original item is out of your budget. In this tutorial, you can recreate this Reformation Michaela dress for a fraction of the cost and make it in any color you like!.
Overview
To recreate this dress, the project requires 3 yards of stretch broadcloth. The yardage could be reduced if you are willing to make the dress without a lining, but with white fabric an extra layer is always safer, so this tutorial includes it. This tutorial also requires elastic thread to create the shirred effect on the back of the dress. It makes it incredibly comfortable and more forgiving when fitting the bodice.
The process of shirring can be a little intimidating but is just as easy as sewing a straight stitch! The trick is winding the bobbin with elastic thread by hand and making sure to not pull to tight or too loose when winding it.Once you have your bobbin ready, load it into the machine, adjust your tension to be a little higher than normal, and sew in a straight line.
Repeat the straight stitches across each back panel, sewing about 3/8" to 1/2" from the previous line each time. Keeping the lines straight and even is key to getting a clean look.
The sleeves are where this dress gives major style! It uses a generic sleeve template at the shoulder with a wider width to accommodate for the bubble effect. Three strips of 1/4" elastic are inserted into channels at the shoulder, elbow, and wrist to create the look.
Supplies
Here's what you will need!
- 3 Yards of Stretch Broadcloth
- Scissors
- Thread
- White Elastic Thread
- 12-14" Invisible Zipper
- 1/4" Elasticm
- Sewing machine with normal foot and invisible zipper foot
- Sewing Pins
- Measuring Tap
- Iron
- Paper and tape to make pattern piece


STEP 1 Cutting The Pattern
Start by creating your pattern pieces using paper and tape. Measure your overbust and underbust measurements and use these to create the bodice pieces as shown below. The height of the pieces is generic, but the width will change based on your measurements. You will need 2 Front Center pieces (note the fold in the center), and 4 of the Front Side pieces, Back Side pieces, and Back Center pieces.
Cut out 2 Skirt pieces, rectangles 20" in length by your waist measurement x2.
For the Sleeve pieces, measure around your shoulder. Take that measurement and add 10" for the top of the sleeve and taper down to about 7" less than that at the wrist. Also measure the length of your arm from your shoulder to your wrist and add 5" to get the length. Finally cut 2 Sleeve Lining pieces, rectangles a few inches shorter than 2x your shoulder by 2".


STEP 2 Sewing the Bodice
Start by sewing together the pieces of the bodice one layer at a time (one set of pieces will be used as a lining and the other as the outer layer). Align the edges of the Front Center piece with the Front Side pieces with the right sides of the fabric touching. Sew them together with a 1/2” seam allowance. Then line up the edges of the Back Side pieces with the with the Front Side pieces with the right sides of the fabric touching. Sew them together with a 1/2” seam allowance. Repeat for both sets of bodice pieces.
SNOTE: The seam allowance will continue to be 1/2" for the entire of the pattern.
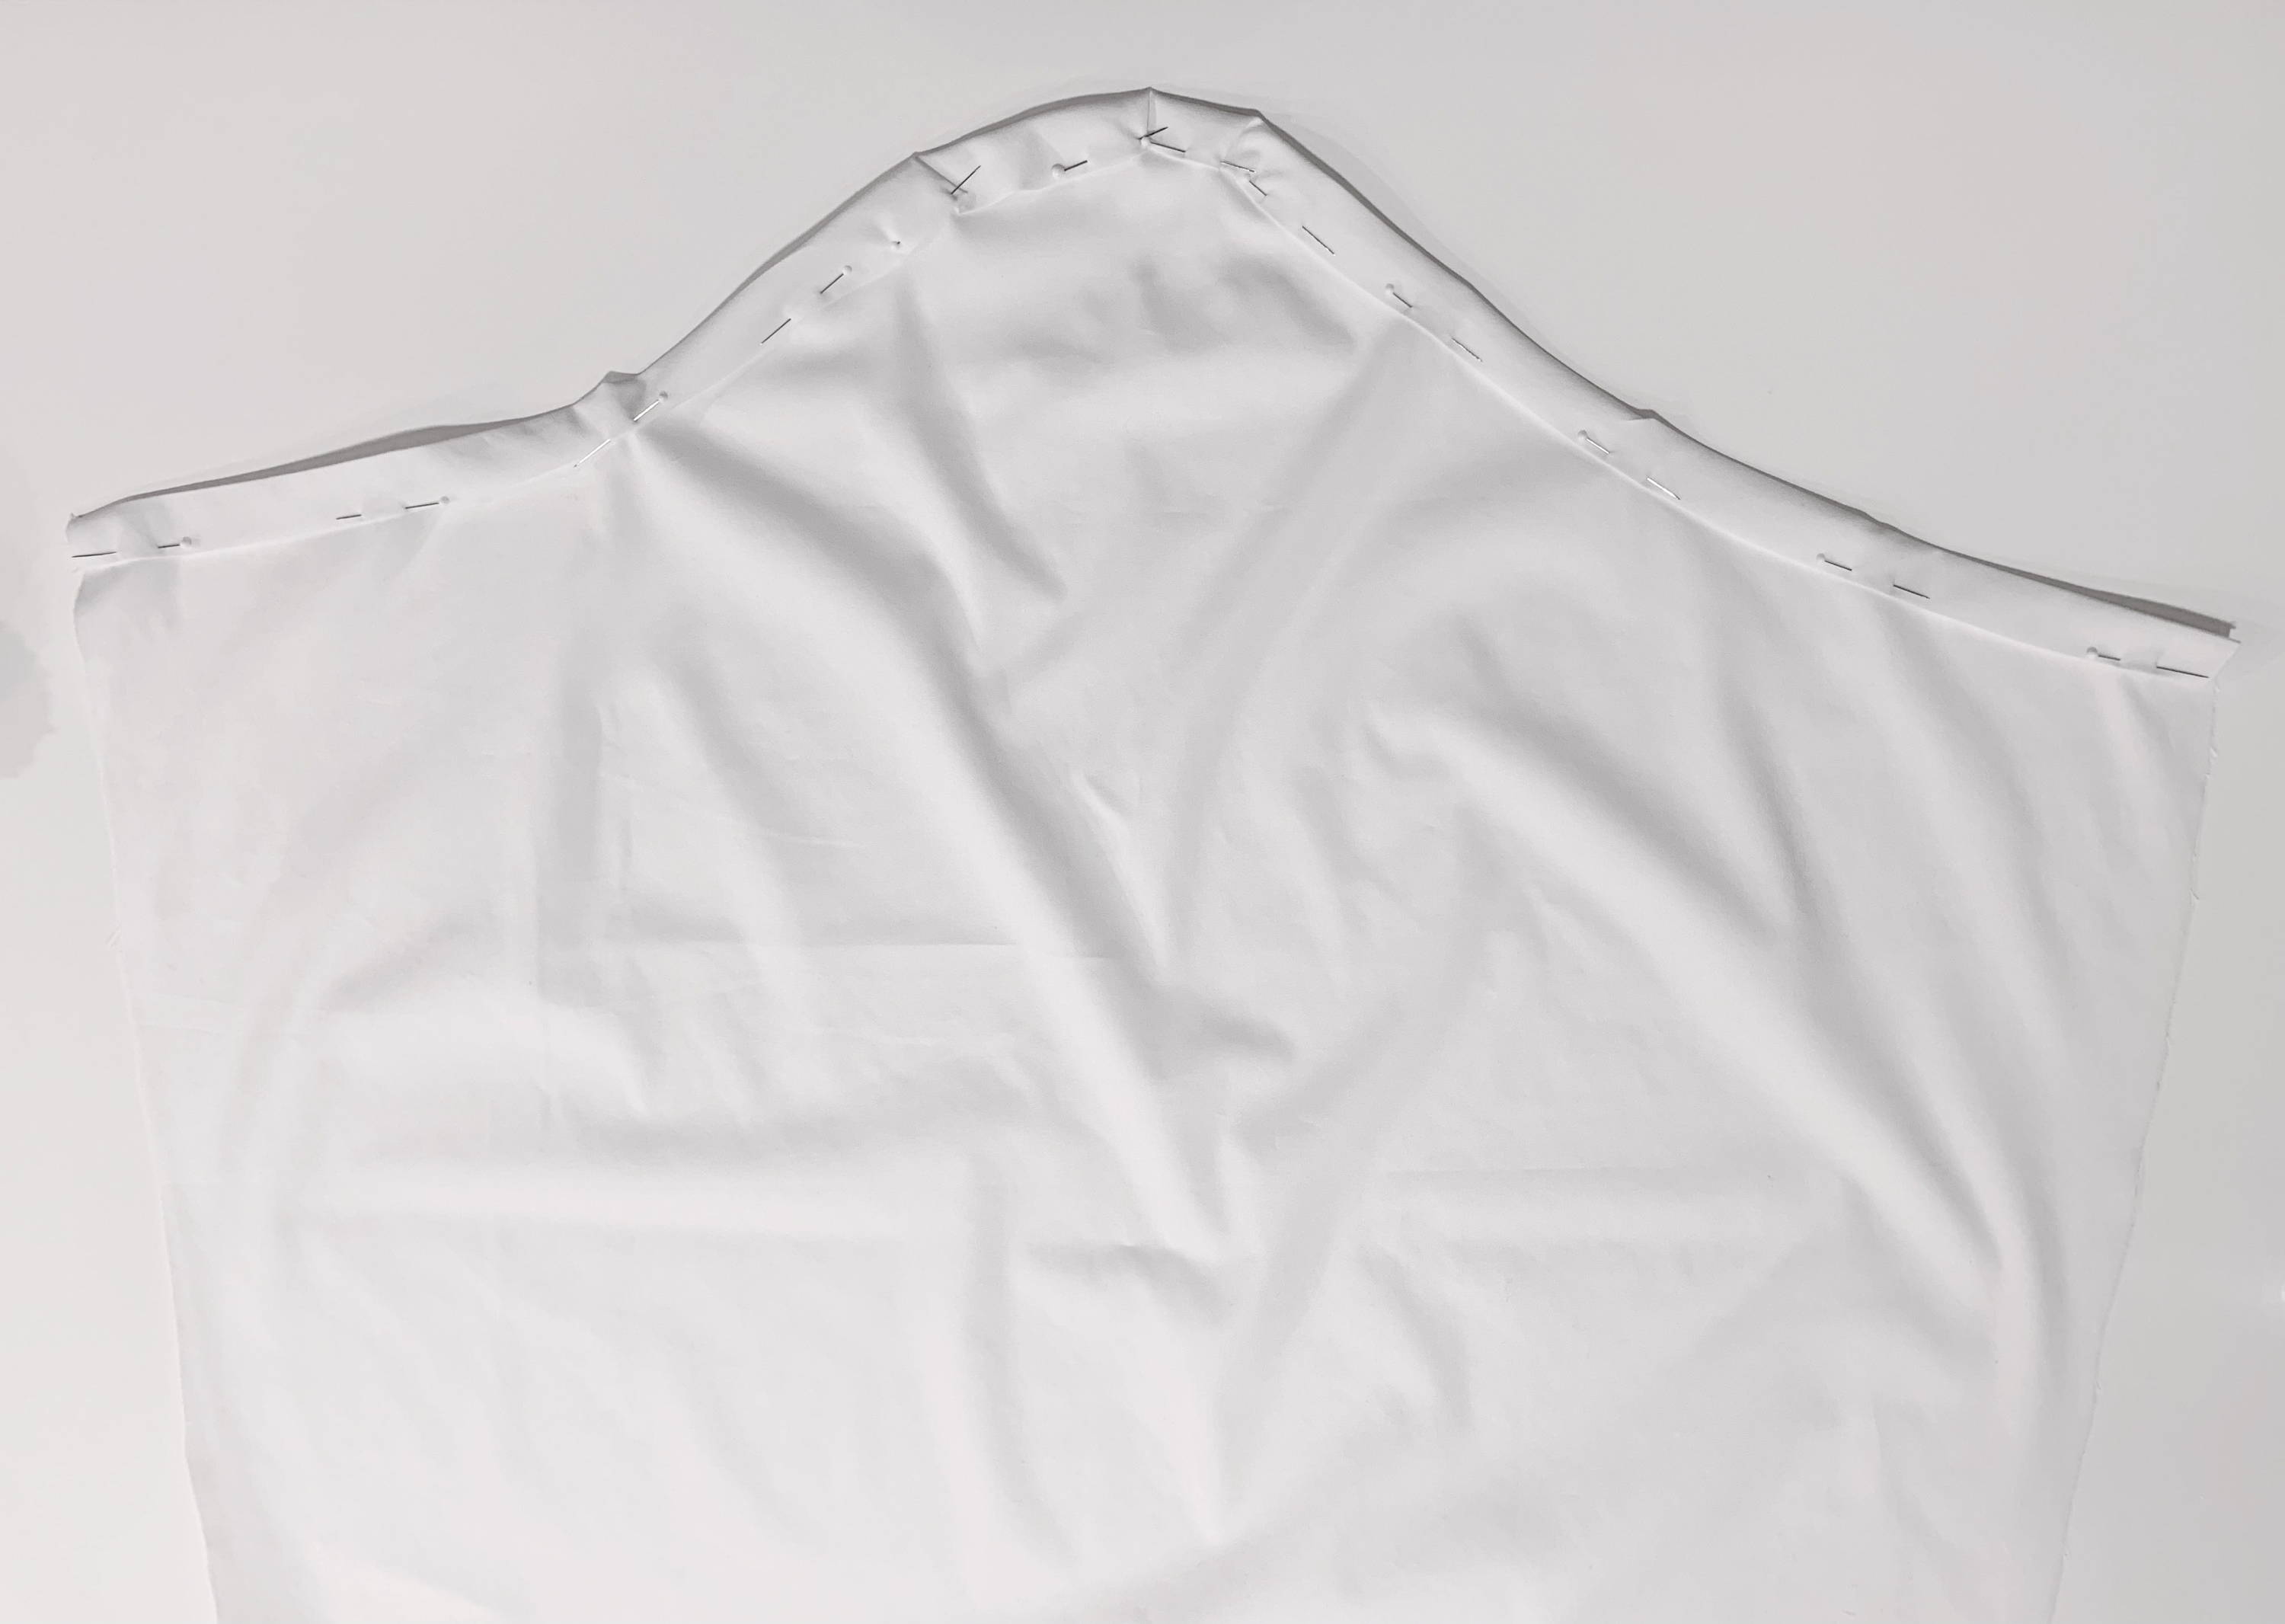
STEP 3 Sewing the Edges
The next step of the bodice is to lay both layers of fabric down on top of one another with the right sides of the fabric touching and line up the top edge. Sew the edges together along the top. Fold the top layer of fabric back to reveal a clean edge and iron all of the seams. Take the raw edges of the fabric on the sides of the Back Side pieces and fold them back into the layers of fabric about 1/2". Iron them to keep them from unfolding.


STEP 4 Sewing the Elastic
Take one of the Back Center pieces and lay it down on top of another piece. Sew along the short top edge of the pieces. Fold the top layer of fabric back to reveal a clean edge and iron. Thread your sewing machine bobbin with elastic thread and sew a straight stitch along the top edge about 3/8" - 1/2" from the edge. Repeat this process over and over keeping the same distance between lines throughout the Back Centre piece until you reach the bottom.
Repeat the entire process on the other set of Back Center pieces
STEP 5 Finishing Bodice
To complete the bodice, take your partially assembled bodice and slide the edge of the shirred Back Center piece into it about 1/2". Pin the pieces in place and sew a straight stitch down the edge of the Back Side piece to connect them. Make sure to change out your bobbin thread back to normal thread! Repeat on the other side.

STEP 6 Ruffled Skirt
To create the ruffled skirt, take one of your Skirt pieces and sew a long basting stitch along the long edge, not sewing back and forth at the start or end. Repeat with another seam just like the first below it about 1/2" away. Take the loose ends of thread on one side of the seam, hold the two top threads and push the fabric away from you to create a ruffle. Continue pushing the fabric away until it is the same length as the bottom edge of the bodice. Repeat with the other Skirt piece.
STEP 7 Attach the Skirt
To attach the Skirt pieces to the bodice, line up the ruffled edge of one layer of the skirt with the bottom edge of the bodice with the right sides of the fabric touching. Only pin the Skirt to the top layer of the bodice. Repeat with the lining, also having the right sides of the fabric touching so that when the skirt is sewn down, all of the open seams will be hidden inside of the layers. Sew the edges together on each layer, sewing all of the layers together when you get to the shirred Back Centre pieces.


STEP 8 Install the Zipper
To insert the invisible zipper, unzip it and pin the front side of the zipper to the edge of the Back Center piece and then the Skirt pieces (both layers). Make sure the zipper teeth are facing outward away from the center. Using an invisible zipper presser foot, sew along the teeth of the zipper to attach it to the fabric. At the bottom of the zipper, line up the Skirt pieces and sew them closed.
STEP 9 Hem the Edges
The last step on the main portion of the dress is to hem the bottom edge by pressing the edge of the top layer up 1/2" twice to create a clean seam. To make sure the lining layer does not stick out below the outer layer, cut it about 1" shorter and repeat the same hemming process.

STEP 10 Create the Sleeve
To create the sleeve, you will need to fold the edge of the fabric over about 1/2" at the top and bottom edges, pin, and sew. For the curved edge, cut slits into the fabric at the curves to help the fabric fold. It will not be incredibly clean, but once you add in the elastic you will not notice any unevenness.
Fold the sleeve length-wise with the right sides of the fabric touching to line up the underarm seam, pin, and sew closed. Again, fold the edges over at the top and bottom of the sleeve, this time about 1". Pin and sew along the edge about 1/4" from the edge of the fold, leaving about a 1" opening to be able to insert elastic.
To create the channel for the elastic at the elbow, take your Sleeve Lining fabric and fold the long edges over 1/2" and press with an iron. Line up the strip of fabric along the location of the elbow on the Sleeve. Pin and sew both edges down, leaving a 1" opening along one side to be able to insert elastic.
Repeat for both sleeves.
STEP 11 Finishing the Sleeves
Stretch your elastic around your arm at the shoulder, elbow, and wrist to measure how much you will need to hold the dress snug in these locations (but not too tight) and cut 2 pieces for each. Use a safety pin to string your elastic through the openings at each location and sew the ends of the elastic together. Close up each of the openings. Turn your sleeves right side out.

STEP 12 Attach the Sleeves
The final step is to attach the sleeves to the dress by lining up the seam on the underarm of the Sleeve with the seam on the side of the bodice. Pin them together along a 2" length and sew together to connect them.
Enjoy your completed dress.