White
White
 Pink
Pink
 Red
Red
 Orange
 Tan
Tan
 Beige
Beige
 Ivory
Ivory
 Yellow
 Gold
Gold
 Brown
Brown
 Green
Green
 Blue
Blue
 Purple
 Grey
Grey
 Black
Black
 Multi
Multi
 Abstract
 African Print
 Animal Print
 Baby & Nursery
 Buffalo Check
 Camo Print
 Celestial
 Church
 Damask
 Embroidered
 Floral
 Geometric
 Gingham Check
 Houndstooth
 Licensed
 Paisley
 Plaid
Plaid
 Polka Dot
 Sports
 Stripe
 Tie Dye

Project Description
Halloween is a magical time of year for everyone. Whether you are a cosplayer or a trick or treater, everyone loves and appreciates a good costume. To celebrate this year’s spooky season, I'm going to help you create the ultimate clown-core costume using the “Simplicity Sewing Pattern S8972 Misses’ Halloween Costume.”.
Supplies
Here's what you will need!
- Simplicity Sewing Pattern S8972 Misses’ Halloween Costume
- 2 Yards of Pink Cotton Polyester Broadcloth
- 2 Yards of Turquoise Cotton Polyester Broadcloth
- 3 Yards of Turquoise Raschel Lace
- 1 Yards of Pink Polychina Silk Lining
- 2 Yards of Turquoise Tulle
- 3 Yards of Fusible Interfacing
- 3 Yards of Polyester Boning
- Sewing Machine
- 1 1/2 Button
- Loop Turner
- 2" elastic
- Fabric Button making kit
- 1 14" zipper
- Zipper Foot
- Button Hole Foot (Optional)
- Iron
- Hook & eye loops
- Sewing pins
- Matching thread
- Scissors

STEP 1 Cutting the Pattern
Cut out the sewing pattern and fabric following your measurements. Interface your pieces at this step


STEP 2 Stitch Upper Edge
Stay stitch the upper edges of all 8 corset pieces.
STEP 3 Stitch 1 Side Corset
With the right sides together, stitch 1 side of each corset piece. (pattern pieces 1, 2, 3, and 4) Press each seam. Repeat this process for the 4 corset pieces.


STEP 4 Stitch Pin Corset Front
With the right sides together, stitch pin the front and back corset pieces together.
STEP 5 Shoulder Straps
To form the shoulder straps, fold the strap pieces in half lengthwise and stitch the edges together. Trim the edges, and then turn the garment right side out. Press the garment to flatten it.


STEP 6 Baste Straps
Baste the straps to the corset. Remember to match the seams with the side stitching on the corset.
STEP 7 Sew Boning
Follow Steps 3 and 4 above to create the corset lining. Add boning to each channel of the lining. Leave a 1” space between the raw edges and the boning on the top and bottom of the garment.


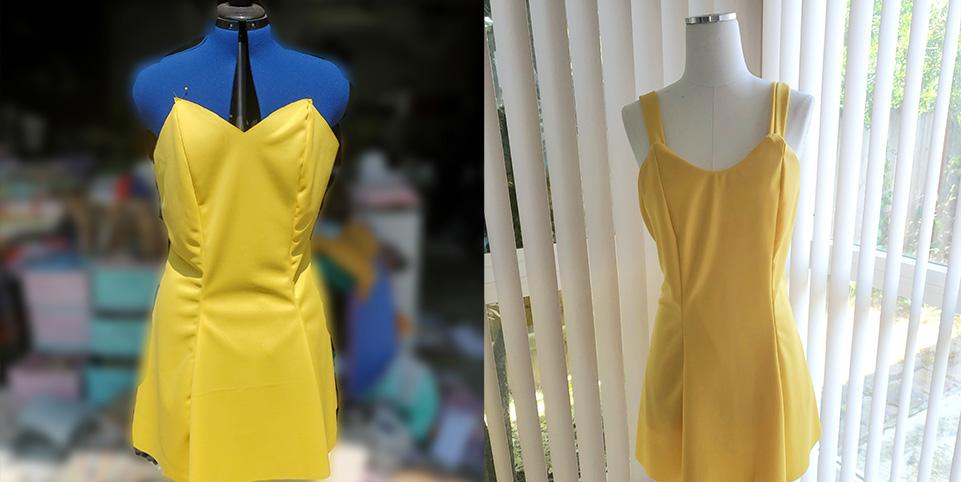
STEP 8 Attach Lining to corset
To attach the lining of the corset, first ensure the right sides of the corset and the corset lining are together. Now stitch the top and bottom of the corset and the corset lining together. The shoulder straps should be sewn inside of the corset. Next, turn the corset right side out.
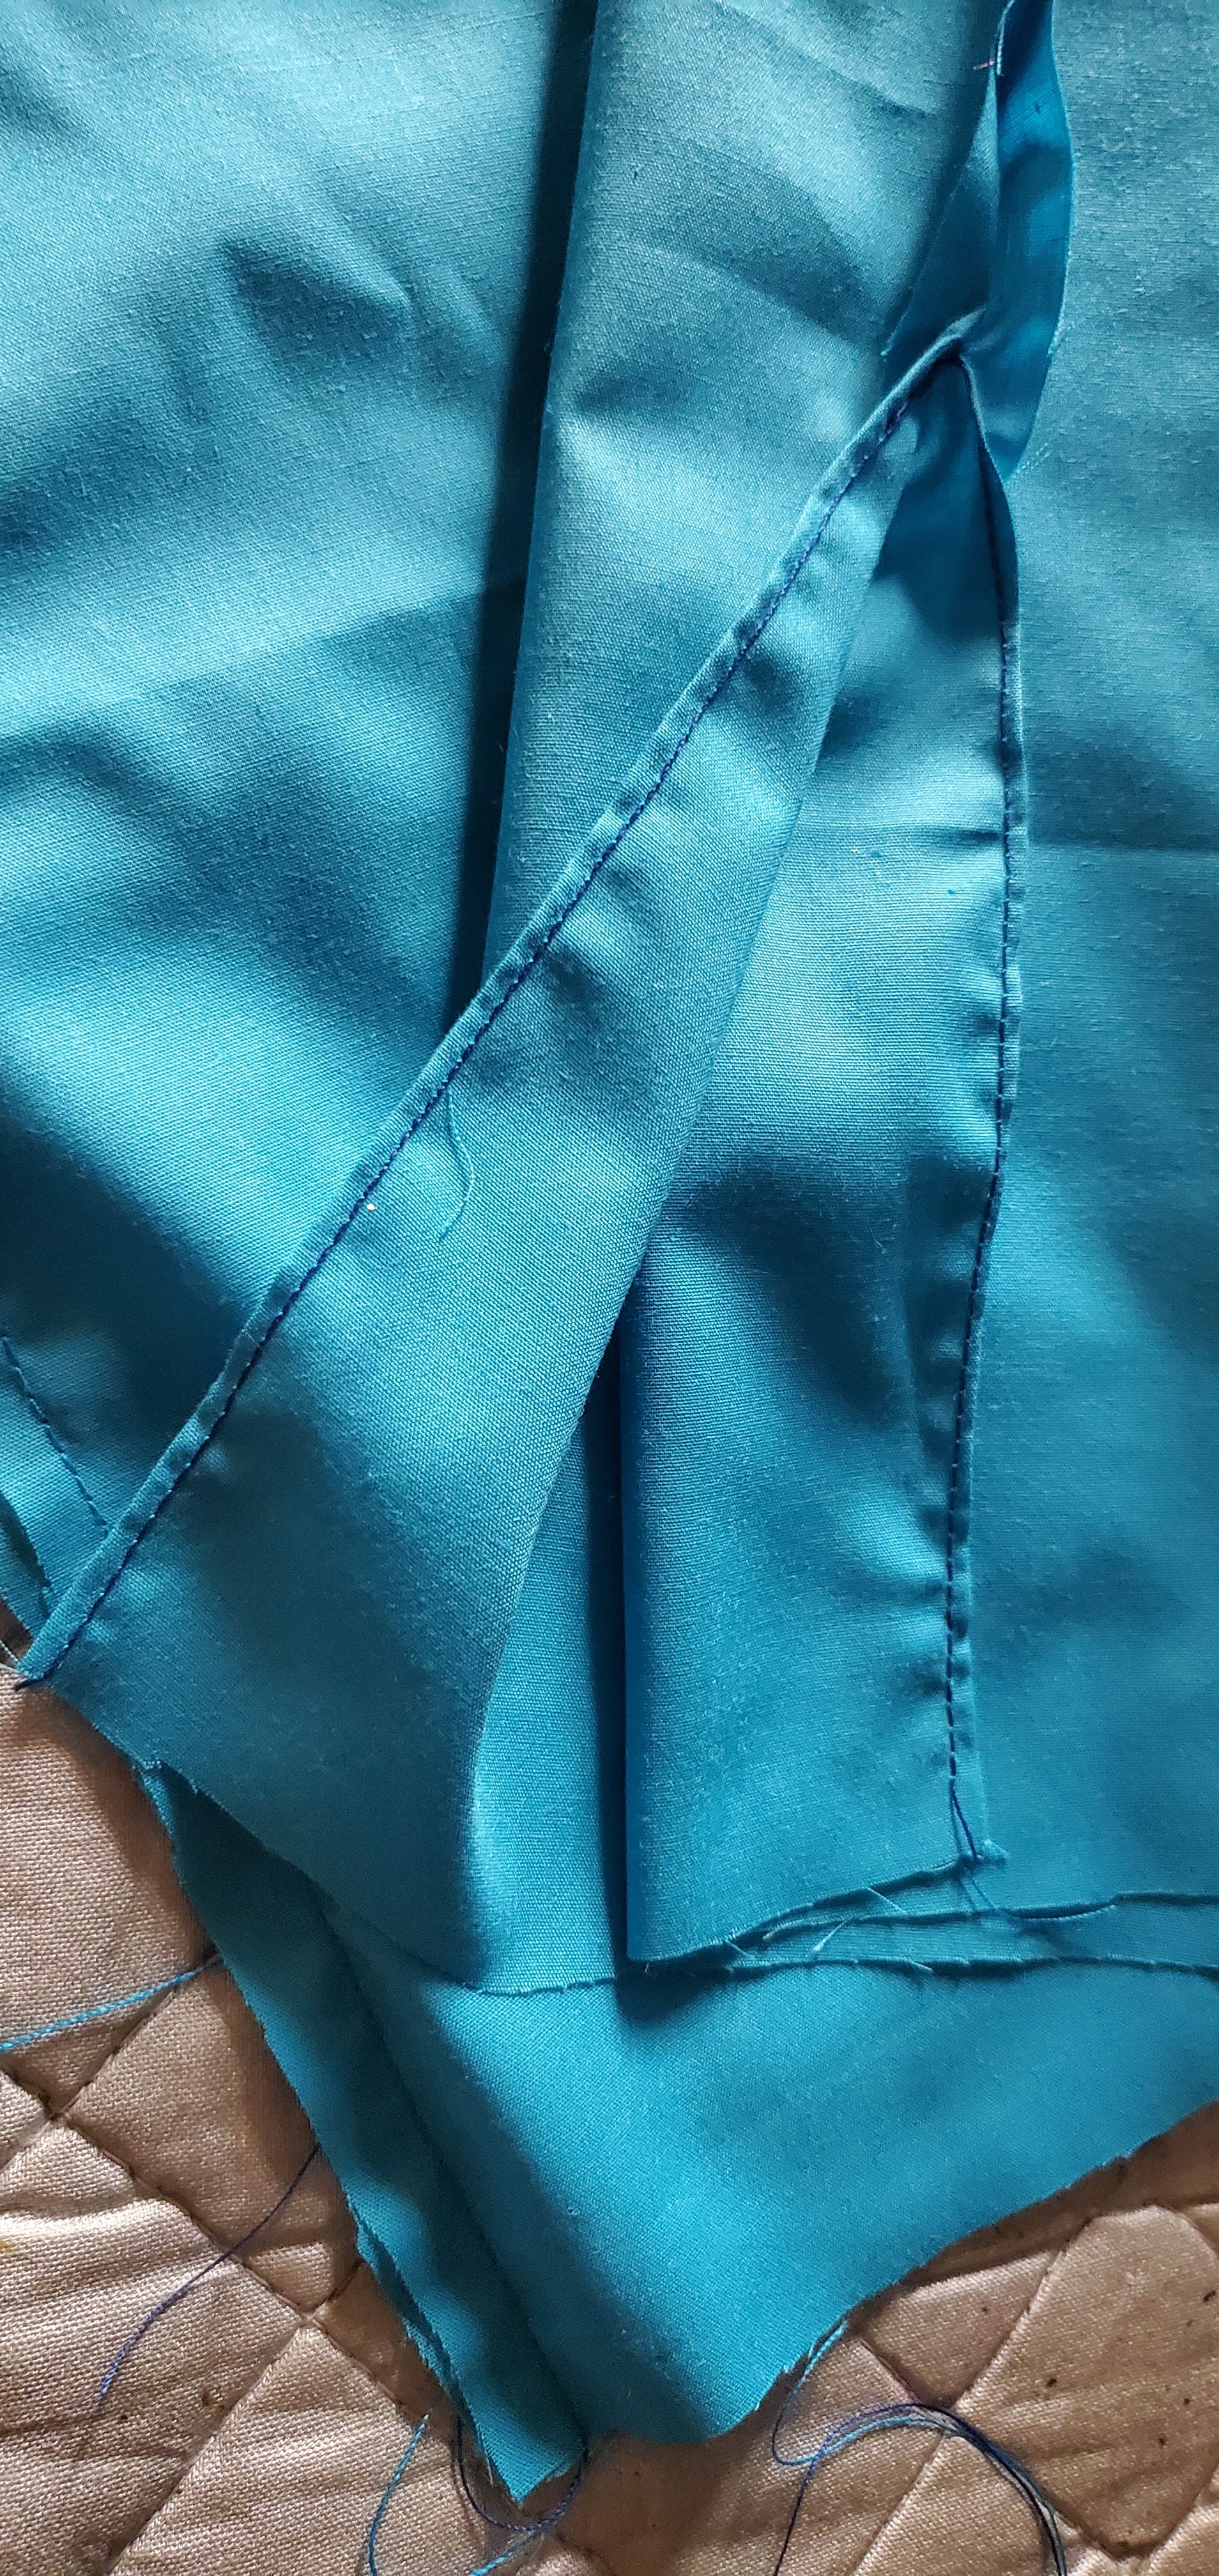
STEP 9 Install the Zipper
Pin the zipper to the raw edges of the corset. Now, baste the zipper. Next finish the zipper with a straight stitch.


STEP 10 Neckpiece
Fold the piece of cuff fabric by 1/2.” Press the cuff fabric.
STEP 11 Sew Tulle and Lace
Next, pin together the pieces of tulle and lace. Using the longest stitch length on your machine, sew 2 parallel rows of stitching to form your gathers. Hold the fabric on the left side with your left hand and hold the two ends of the thread on the right side of the fabric with your right hand. Gently pull your hands apart to gather the fabric and form ruffles. Now hold the fabric on the right side with your right hand and hold the two ends of the thread on the left side of the fabric with your left hand and repeat.


STEP 12 Pin Neckpiece to Cuff
Pin the neckpiece to the cuff making sure to catch all of the pieces of lace and tulle fabric.
STEP 13 Baste Stitching
Baste the neckpiece to the cuff, and then stitch them together.


STEP 14 Cuff Edges Stitching
Fold the right sides of the cuff together. Stitch the edges of the cuffs together, clipping the corners in the process. Next turn each end right side out.
STEP 15 Top Stitching
Press the cuff and topstitch the raw edges of lace and tulle together.


STEP 16 Install Buttons
Hand stitch a button using a buttonhole foot on the neckpiece.
STEP 17 Pants
Take the pant pattern pieces and pin both sides of the raw fabric. Leave a 4” opening on both outer seams of the pant pieces.

STEP 18 Lower Edges Of Pants
Press the seams and open the lower edges of the pants. Create a narrow hem on the lower edges of the pants and press the seams.
STEP 19 Pant Cuffs
Follow step 10 above, to begin creating the pant cuffs.


STEP 20 Attach Tulle And Lace To cuff
Pin the gathered lace and tulle to each pant cuff and stitch them together. See steps 11-15 above, for more guidance.
STEP 21 Attach Hooks And Eyes To Cuff
Press each cuff with their right sides together. Pin 1 side of each cuff to the bottom of each pant leg. Next, fold the free edge of each cuff and enclose the raw edge of each pant leg and stitch. Add 2 hooks and eyes to each cuff to close them.


STEP 22 Finishing Of Pants
To finish the pants, place 1 pant leg inside the other with their right sides together and stitch them. Measure and cut a 2" elastic piece, 3 inches smaller than your waist measurement. Sew this elastic piece to the top of the waistband leaving 1" of space from the edge. Now, fold it over and stitch the casing to enclose the elastic.
STEP 23 Wrist Cuffs
To create the wrist cuffs follow steps 10-15, and 20-21 above. Congratulations, you have completed your very own clown costume.