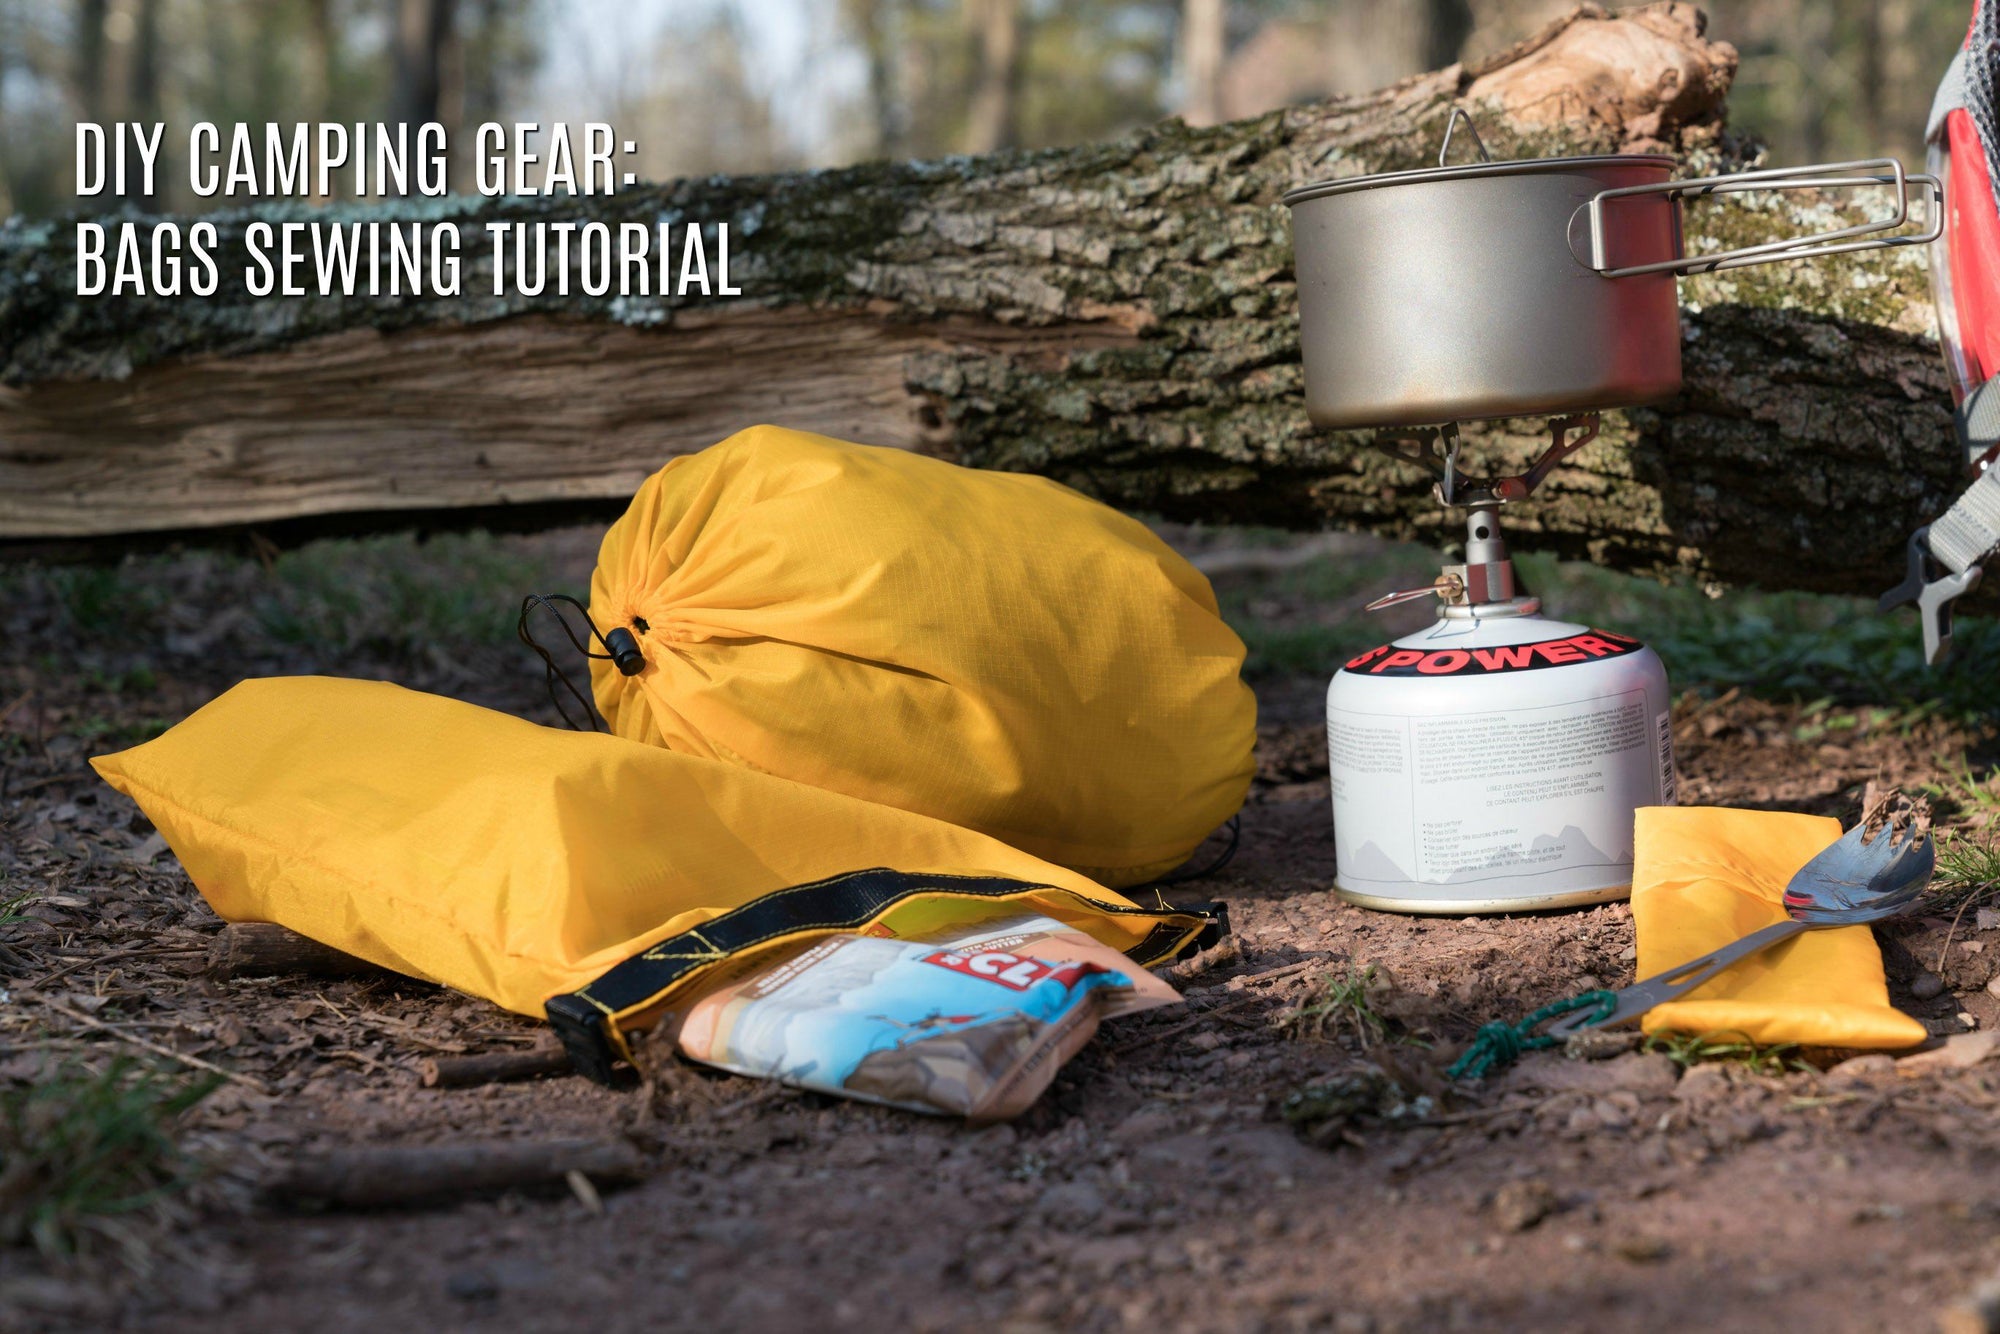
Welcome to the second installment of DIY Camping Gear!
I’m over the moon thrilled to bring you a hammock tutorial. This is a very simple single layer rectangle hammock. It may feel intimidating to start this project, but I assure you it is very simple! We used PU coated Ripstop in our last installment for the waterproofing ability. In a hammock, you don’t need that sort of treatment as you’ll likely have a rain fly overhead, or are only setting this up in the back yard. The DWR fabric is durable water repellent. It breathes easily, and is flexible. You might be surprised how soft this fabric is when you gets yours in the mail!
As with our camping bags, this hammock is made from a simple rectangle. You could easily finish your very own hammock in under an hour before the nice weekend of camping! I won’t go into great detail about how to do the knots used to hang the hammock, but I will add some notes on what I did for my hang.
Supplies:
- 4 yards Nylon Ripstop 70 Denier (DWR)
- Thread to Match
- Fabric Scissors
- Measuring Tape
- Pins
- Sewing Machine
- Tree strap
- Whoopie sling
- Cording for hammock ends
Time: Under 1 hour
Difficulty: Easy
LET'S GET STARTED!


- Cut fabric. I used the full width of fabric to keep this hammock as wide as possible, with a length of 119”.
- Sew a rolled hem on the long sides. You don’t need to create a rolled hem in fear of your fabric unraveling, but more for a clean look when you’re finished. Use a rolled hem attachment, or fold your fabric over ¼” once, then again over itself and sew over all three layers.

- Create a 1” casing. On the short ends of your fabric, fold over ½” then fold again 1” to create the casing. Sew along edge, then again ¼” apart (essentially top stitching). Be sure to keep string inside the case while you sew to make cinching/gathering easier later. Repeat on other side.

- Gather your ends together. The easiest part is over!

At this point, the knots and hang you use are up to you. On the gathered ends, you can tie your string into a simple loop, then attached to your tree hang. On the loop, I used a modified Otto Button Sling (if you want to create this, it’s a locked Brummel splice with a diamond knot on the end), which gets attached to a whoopie sling, then to a tree strap.
Always test your hammock hang carefully, and keep it low to the ground. You will love this hammock for curling up with a book or staying in the great outdoors!
 Transparent
 White
White
 Pink
Pink
 Red
Red
 Orange
 Tan
Tan
 Beige
Beige
 Ivory
Ivory
 Yellow
 Gold
Gold
 Brown
Brown
 Green
Green
 Blue
Blue
 Purple
 Grey
Grey
 Black
Black
 Multi
Multi
 Abstract
 African Print
 Animal Print
 Baby & Nursery
 Buffalo Check
 Camo Print
 Celestial
 Chevron
 Church
 Damask
 Embroidered
 Floral
 Geometric
 Gingham Check
 Houndstooth
 Licensed
 Paisley
 Plaid
Plaid
 Polka Dot
 Sports
 Stripe
 Tie Dye


2 comments
Sandy
Which type of ripstop fabric did you use? What was the warp and weft?
Which type of ripstop fabric did you use? What was the warp and weft?
kim
would this fabric be good for sturdy flags? I want to make flags with birthday cake and names embroidered on them
would this fabric be good for sturdy flags? I want to make flags with birthday cake and names embroidered on them