 White
White
 Pink
Pink
 Red
Red
 Orange
 Tan
Tan
 Beige
Beige
 Ivory
Ivory
 Yellow
 Gold
Gold
 Brown
Brown
 Green
Green
 Blue
Blue
 Purple
 Grey
Grey
 Black
Black
 Multi
Multi
 Abstract
 African Print
 Animal Print
 Baby & Nursery
 Buffalo Check
 Camo Print
 Celestial
 Church
 Damask
 Embroidered
 Floral
 Geometric
 Gingham Check
 Houndstooth
 Licensed
 Paisley
 Plaid
Plaid
 Polka Dot
 Sports
 Stripe
 Tie Dye

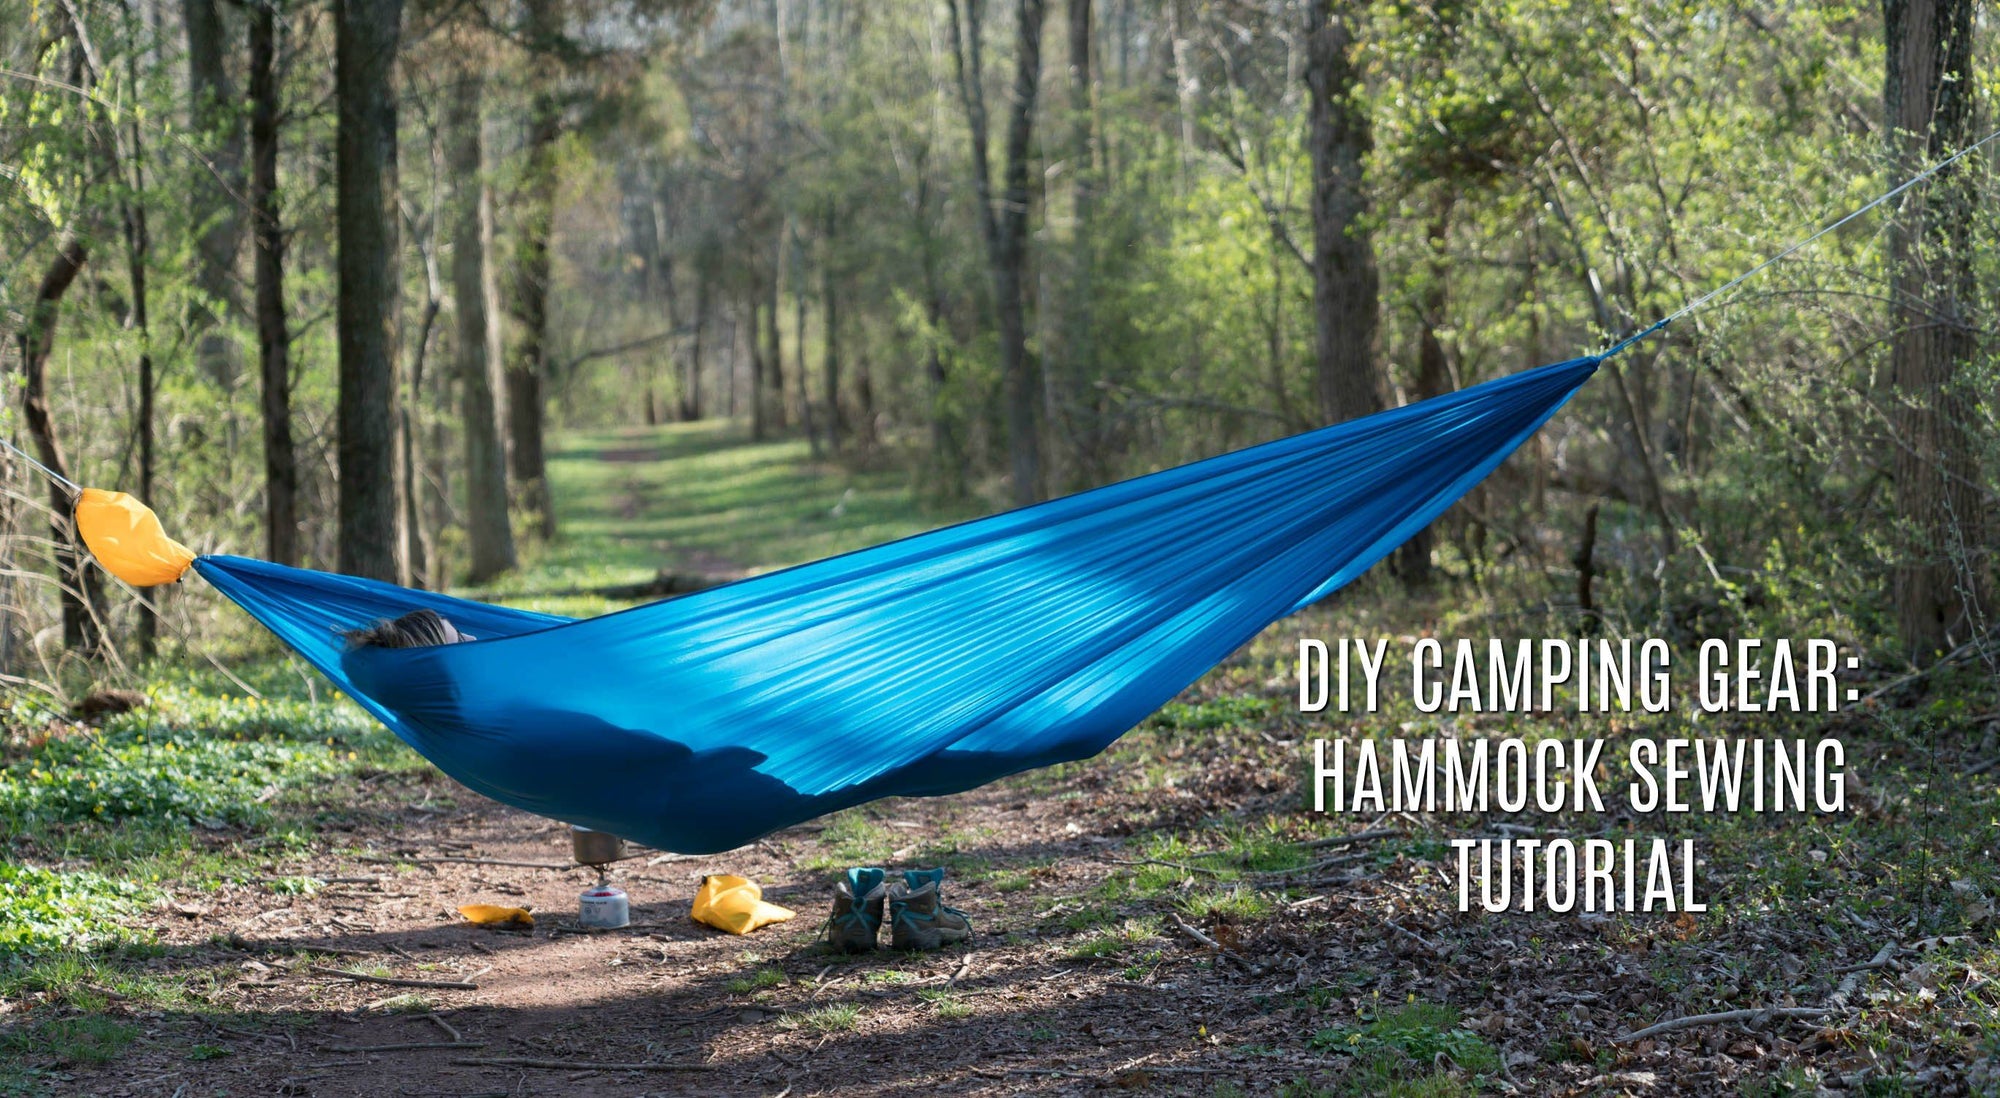
A DIY CAMPING GEAR: BAGS SEWING TUTORIAL
I am absolutely thrilled FWD started carrying Ripstop Nylon. I’m an avid backpacker always looking for ways to improve my gear. Today we’ll go over how to make three different bags that I use all the time for any hiking trip: fold over, cinching, and folding clasp. I use these bags for utensils, food, and my hammock, but with a few measurement changes you can use them for anything you need to carry. You don’t need to stop at camping, either! The fold over bag can be a reusable snack bag, the folding clasp for a cloth diaper bag, and the cinching as a simple drawstring bag!
FWD is carrying three types of Ripstop. For these bags I choose to use PU Coated 70 Denier Nylon Ripstop. I used this kind so I can completely waterproof them with a seam seal.
Each bag is made from a simple rectangle, with only a few seams, so you can make many in a matter of a few hours, or just one or two in 20 minutes!
Supplies:
- .25 yards Nylon Ripstop 70 Denier (PU Coated)
- Thread to Match
- Fabric Scissors
- Measuring Tape
- Pins
- Sewing Machine
- 1 yard 1.25mm Z-Line Dyneema Cord (Cinching Bag)
- .02 oz Tiny Cord Locks (2) (Cinching Bag)
- .5 yards ¾” Grossgrain Ribbon (Fold Over Clasp Bag)
- ¾” Center Release Flat Clasp (Fold Over Clasp Bag)
Time: 20 minutes per bag
Difficulty: Easy
LET'S GET STARTED!

Part One: Fold Over Bag


*This is the bag I use for utensils, but can be adapted to hold snacks, money, etc. To measure, double the length of your utensils and add 4”. The width will depend on how many utensils you’ll carry. I only carry one spork, so I used 3.5”.
- Cut fabric. I used 8” x 3.5”. Use the shiny, gripped side as the “wrong side”.

- Fold short ends down 1/2”, sew. You don’t need to worry about loose ends with ripstop, but can choose to create a rolled hem here.
- Lay your fabric next to your utensils (right side up), fold top down. You want your fold line to just cover a small portion of the utensil so it’s easy to get out.
- Fold fabric bottom up to just overlap top fold.

- Stitch long sides with ½” seam allowance. Make sure you see the seam allowance on this side.

- Flip inside out.


This bag doesn’t need to be seam sealed, but if you would choose to do so, complete your seam sealing before flipping inside out.
Part Two: Cinching Bag


I use this bag for a hammock, but can be used for a tent or regular drawstring bag if you eliminate the second cinch at the bottom of the bag.
- Cut fabric. I used 12” x 18”. Use the shiny, “gripped” side as the “wrong side”.
- Fold fabric long ways, sew ½” seam.

- Cut your cording. I cut the width of my bag plus a few inches, twice.

- While keeping cording inside seam, you’ll create a casing. I find this method easier, instead of threading the cording through my casing later. Sew ½” seam at the top and bottom of your Fold bag inside out.


- Add clasps to each set of cording.

- Tie cord ends in at least a double knot to prevent clasp slippage. Burn ends of cording.


Again while inside out, seam seal this bag along all seams.
Part Three: Folding Clasp Dry Bag


This is most time consuming of all three bags, but is still very simple. I use this bag for clothing and food storage. The circle this bag creates makes it a great bear bag to hang as well!
- Cut For a small bag, I use 9” x 23”. Use the shiny, “gripped” side as the “wrong side”.
- Fold fabric in half, wrong sides together (we’re going to French seam this bag).
- Stitch ¼” seam on unfolded sides.

- Turn bag inside out, stitch another ¼” seam along side seams.

- Cut grosgrain ribbon to width between seams of your bag. Fold top down ½”, sew along top and bottom of ribbon onto top of fabric.

- Turn bag inside out. Cut grosgrain fabric5” longer than width of bag on each side. Fold top down ½”, center ribbon then sew along top and bottom, stopping at side seams.

- Attach clasps to each side of ribbon by inserting clasp half, fold over ribbon, then sew an “x” or “z” through ribbon and only one side of bag.


8 comments
Sandy
Trying to understand the different types of ripstop fabrics. How do i identify the heavier ripstop fabric when ordering?
Trying to understand the different types of ripstop fabrics. How do i identify the heavier ripstop fabric when ordering?
Betty Nakamoto
CAN A HEAT PRESS TRANSFERS BE USED ON RIPSTOP FABRIC?
CAN A HEAT PRESS TRANSFERS BE USED ON RIPSTOP FABRIC?
Sherry Hernandez
I enjoyed the details you provided while I researched what I needed to make a waterproof rain poncho for my son. Thank you!
I enjoyed the details you provided while I researched what I needed to make a waterproof rain poncho for my son. Thank you!
Jenny
Brenda, I would think the ripstop can be screen printed, as long as you use the right ink, and likely something specific for nylon. From what I hear it is a little more finicky than cotton, but using the right methods to help the ink stick to the nylon/polyester is the key. Same goes for the coated nylon. You may lose some of that coating in the process, I would imagine.
Brenda, I would think the ripstop can be screen printed, as long as you use the right ink, and likely something specific for nylon. From what I hear it is a little more finicky than cotton, but using the right methods to help the ink stick to the nylon/polyester is the key. Same goes for the coated nylon. You may lose some of that coating in the process, I would imagine.
Brenda Thompson
Can the Ripstop fabric be screen printed? I want to make a cover for a motorcycle and want to add a brand name on the top edge of the cover.
Also is the waterproof canvas able to be screen printed as well?
Thanks so much
Can the Ripstop fabric be screen printed? I want to make a cover for a motorcycle and want to add a brand name on the top edge of the cover.
Also is the waterproof canvas able to be screen printed as well?
Thanks so much
Sue
Ramona,
Seam sealer is like clear runny glue. It is used anyplace a sewing machine pokes a hole in fabric. Any one selling camping supplies should have this. It seals up the seams of a bag or tent or anything else you need to keep dry. It is not a spray can and is only for the seams. It comes in plastic bottles.
Best regards,
Susan
Ramona
Please explain what you mean by seam seal.
Please explain what you mean by seam seal.
Lois V
These hints and simple sewing instructions are fantastic. Am placing them in sewing memo box. Thanks for sharing. Will adapt for cell phone carrier when kayaking.
These hints and simple sewing instructions are fantastic. Am placing them in sewing memo box. Thanks for sharing. Will adapt for cell phone carrier when kayaking.